Wonder Women Podcast with Katie Freeman

Episode 120 - Alicia of Basilblue Design Company
Wonder Women Podcast

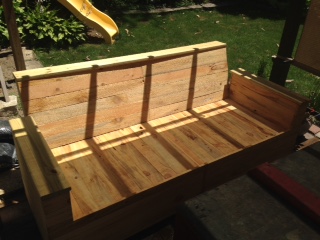
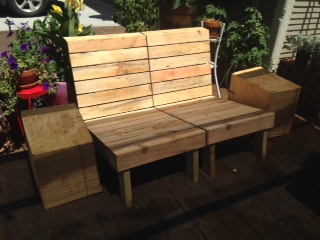
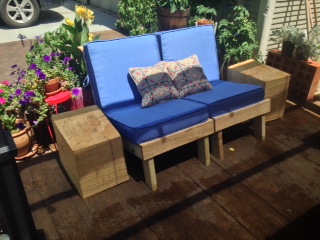
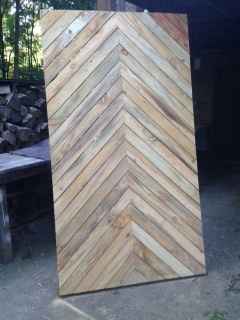
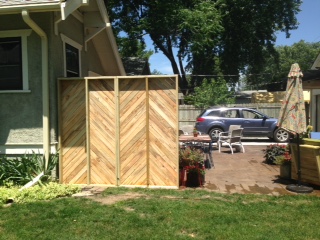
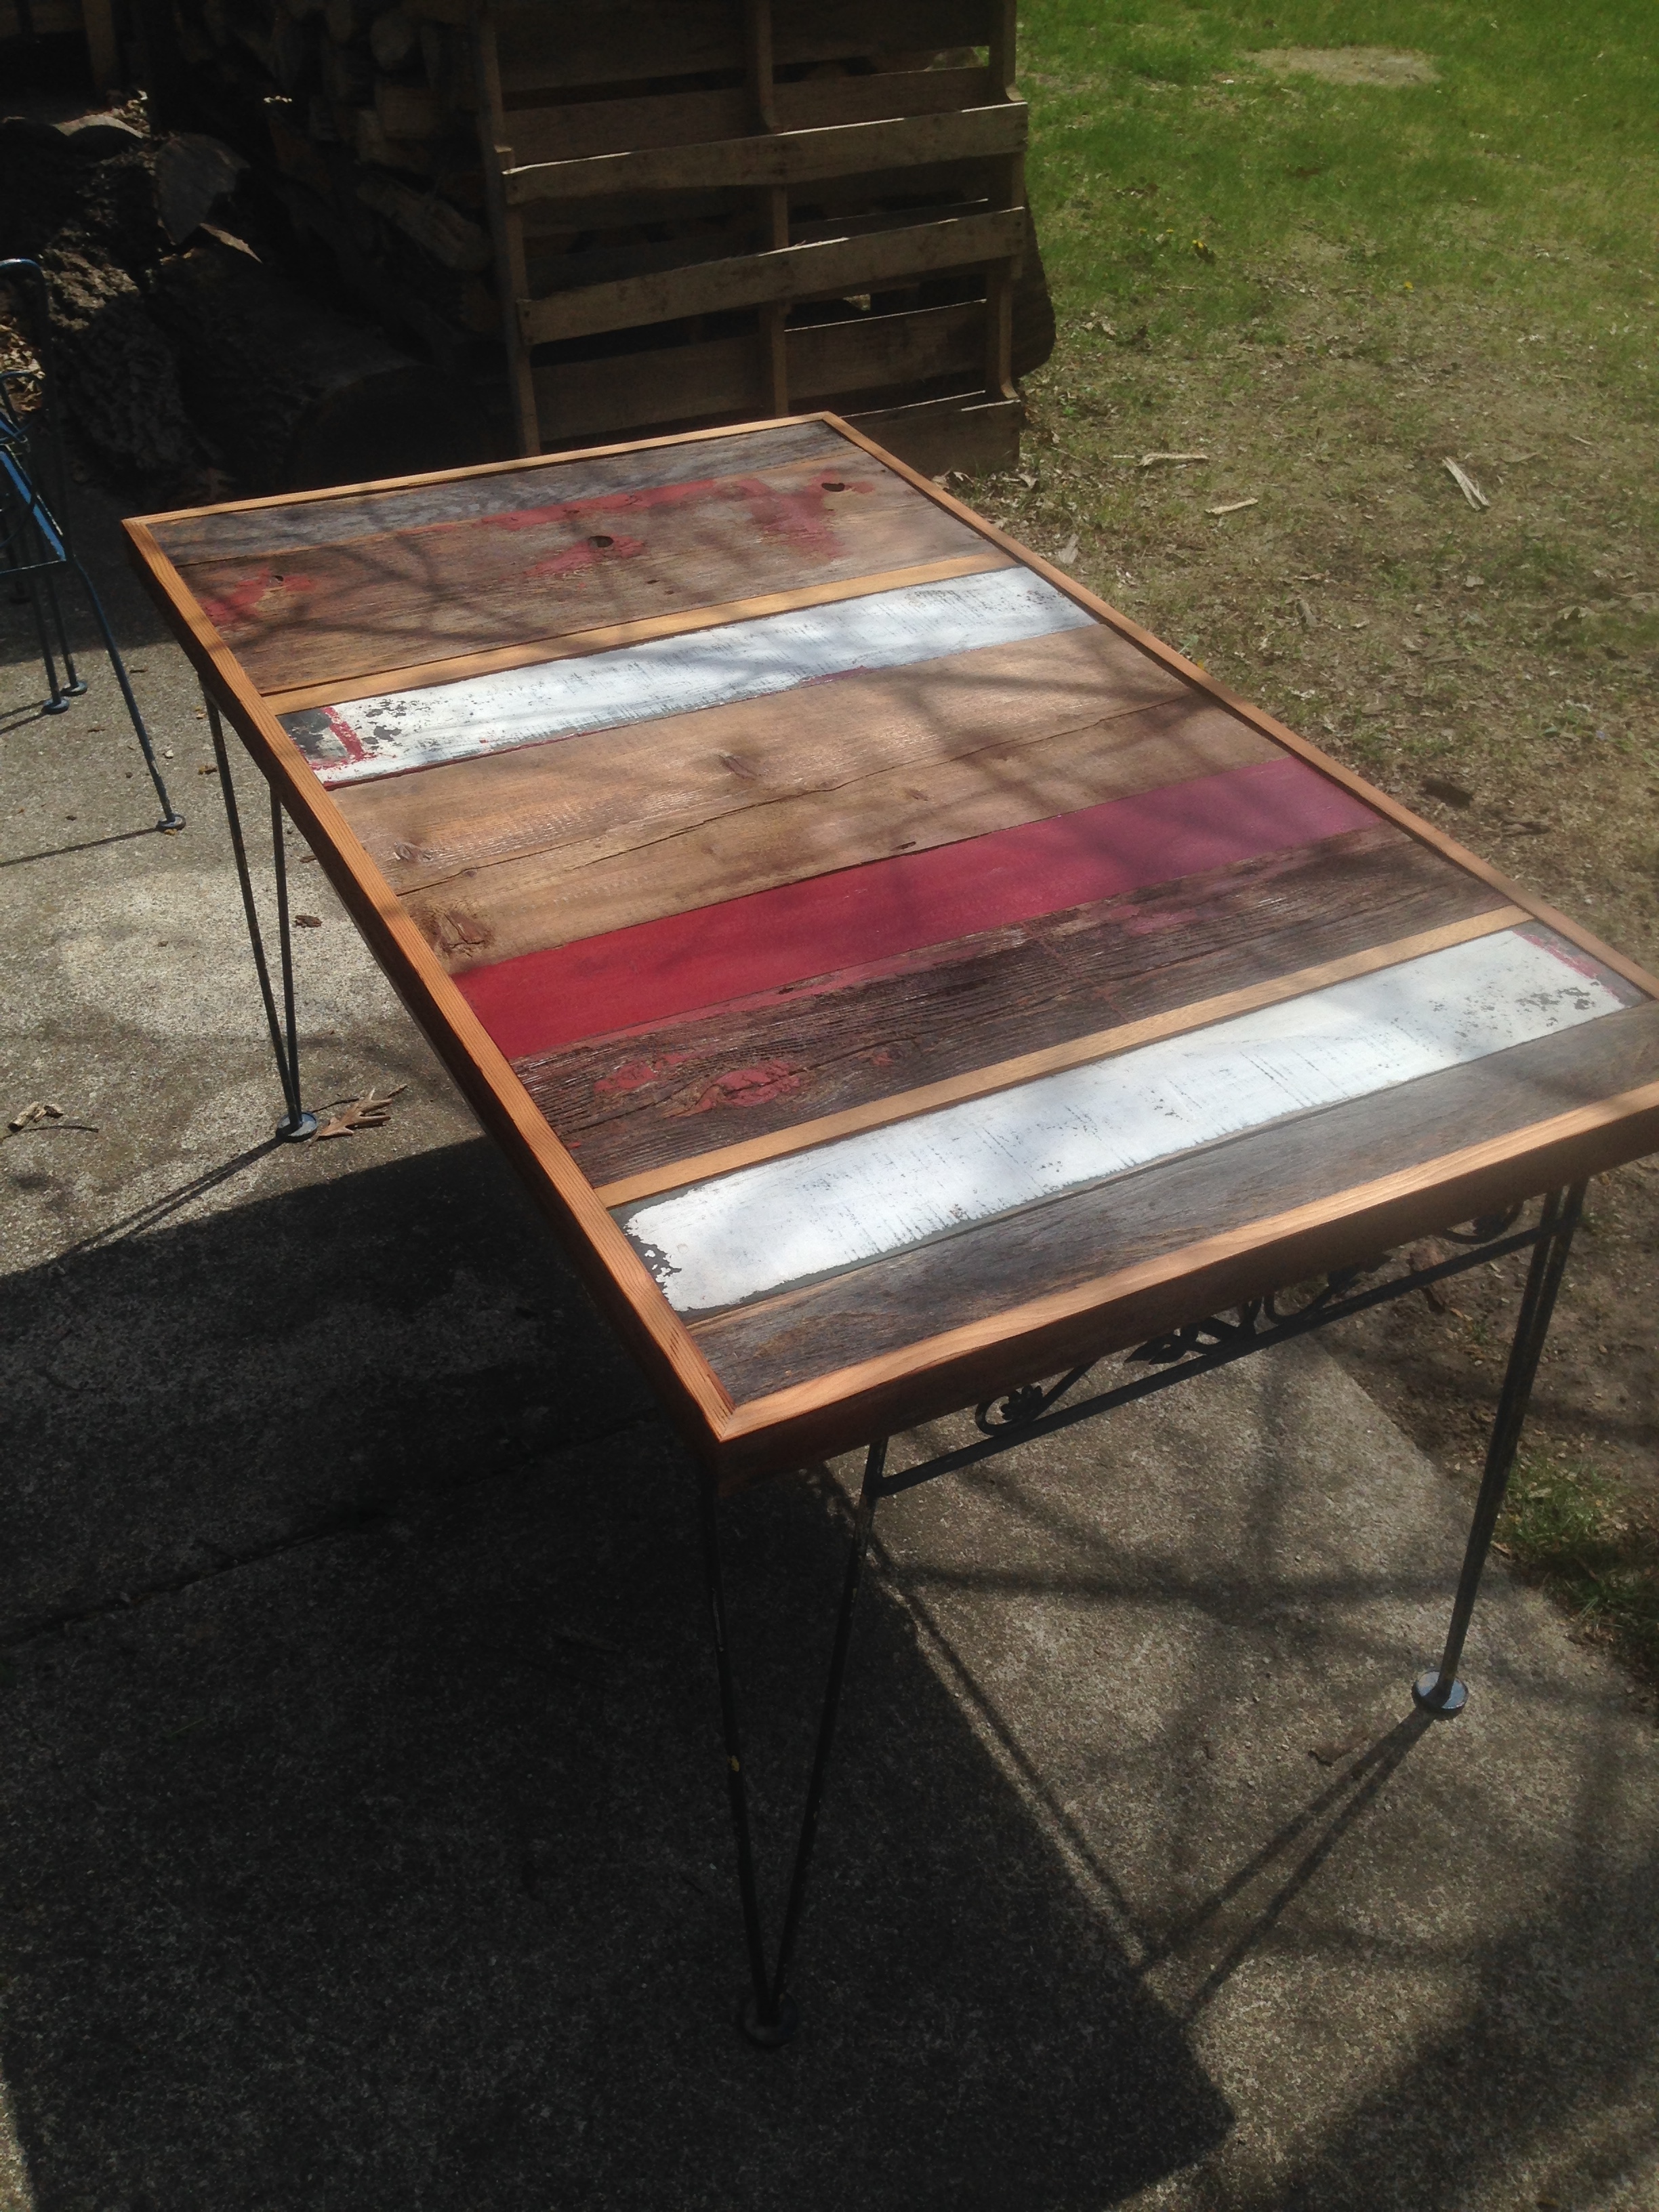
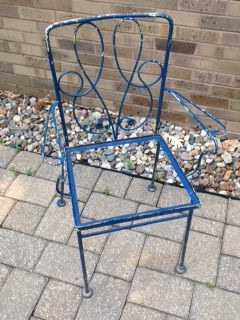
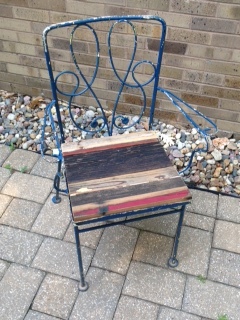
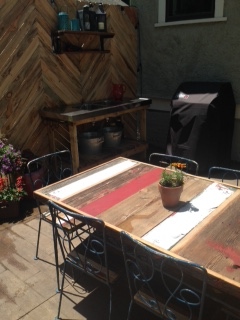
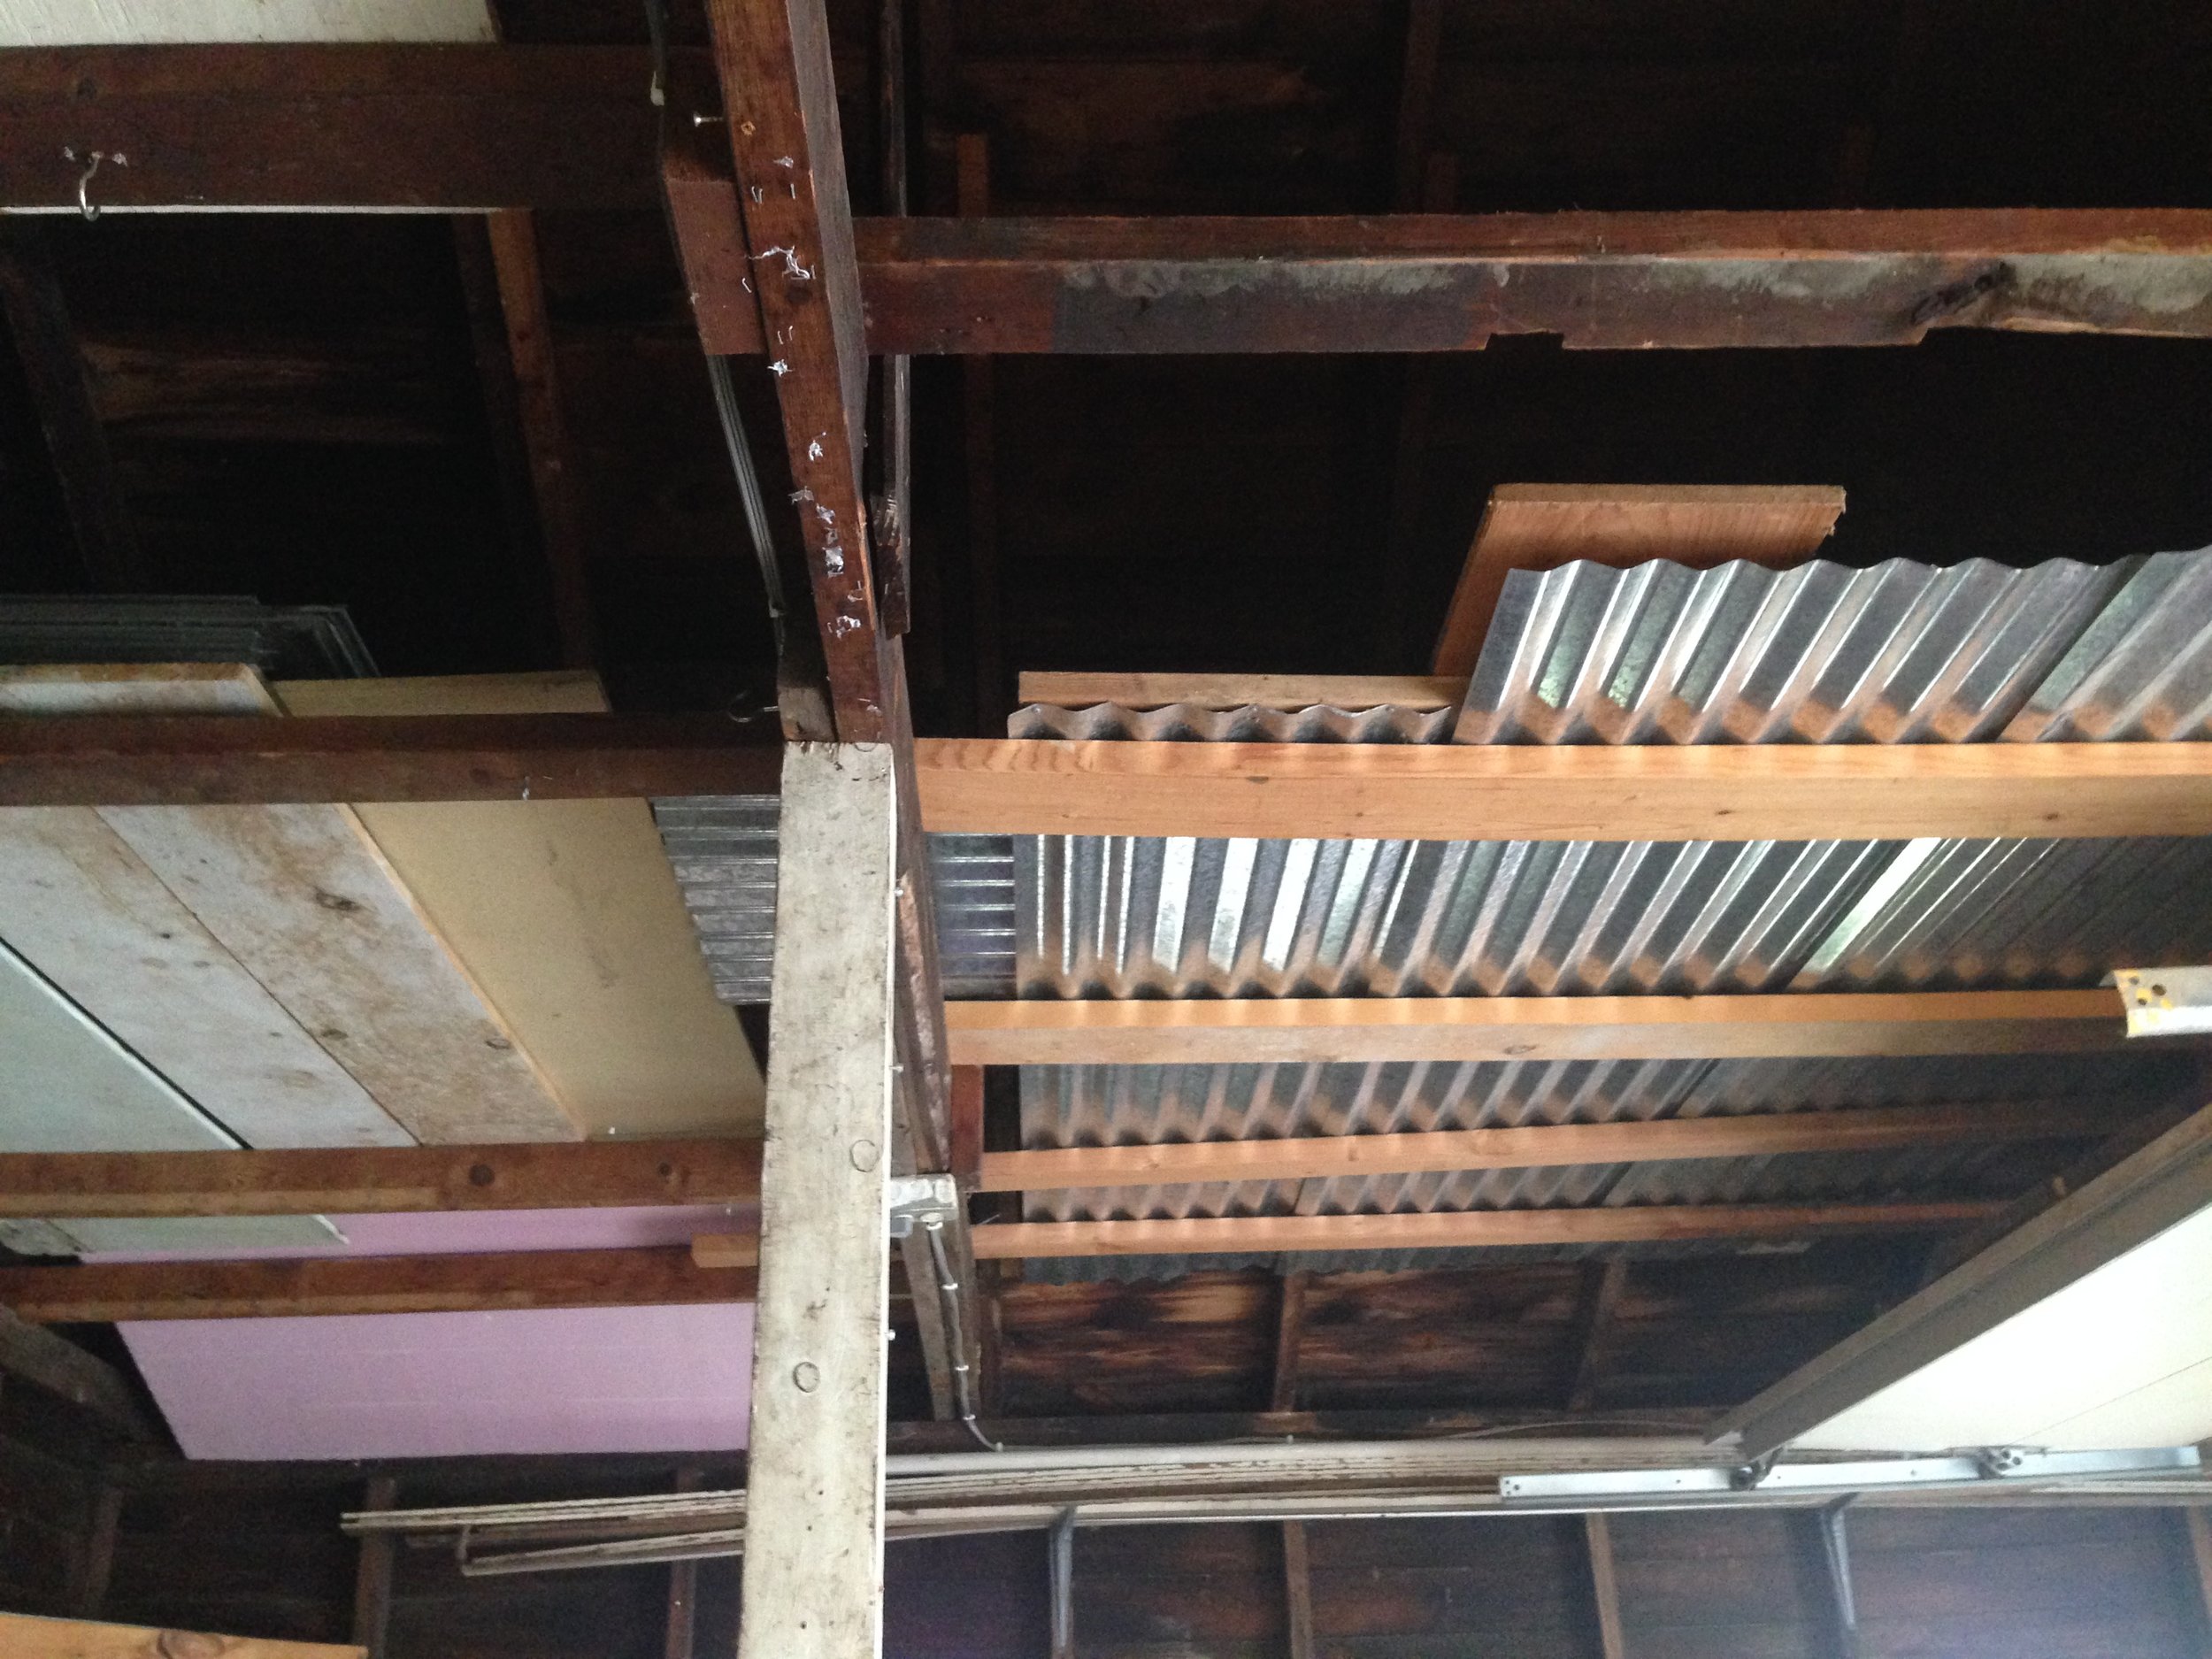
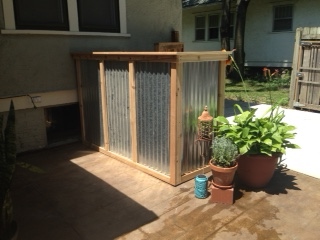
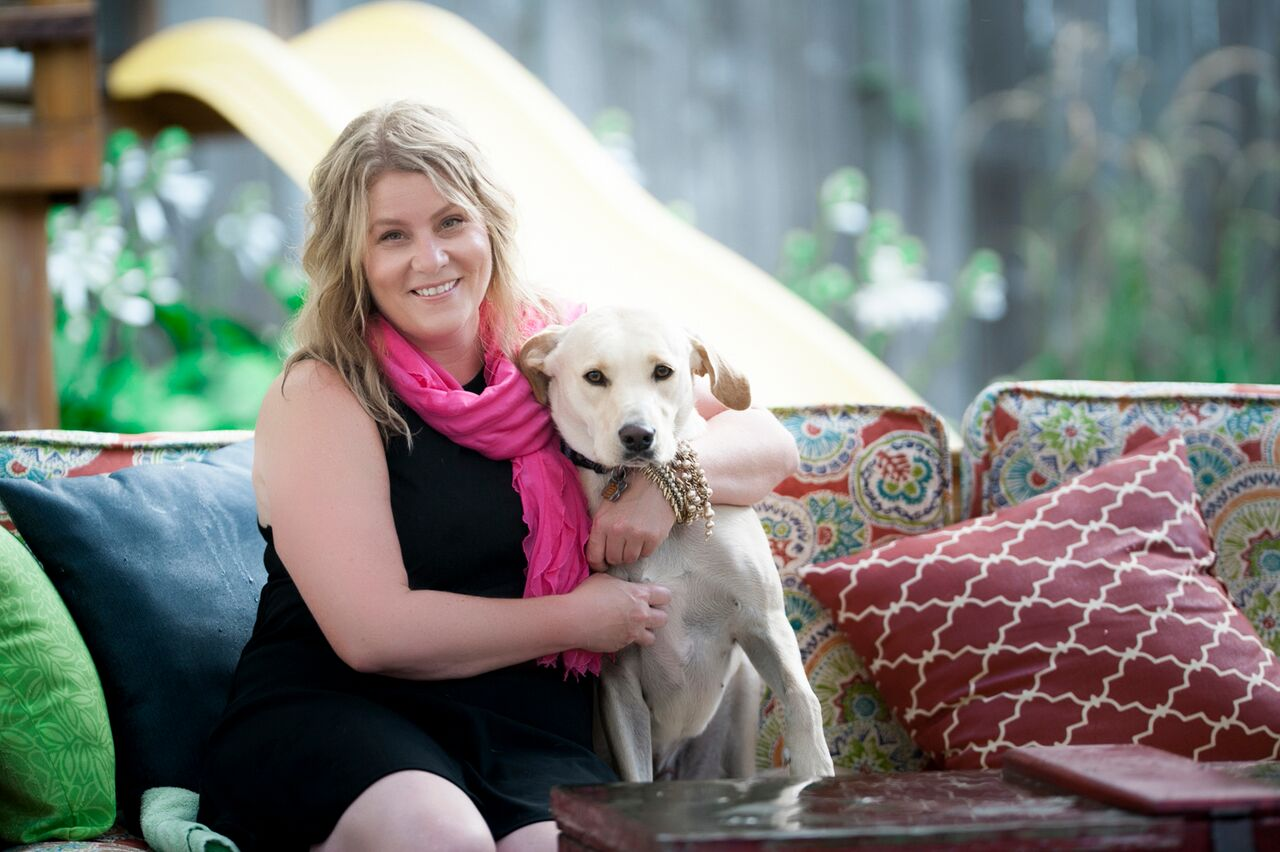
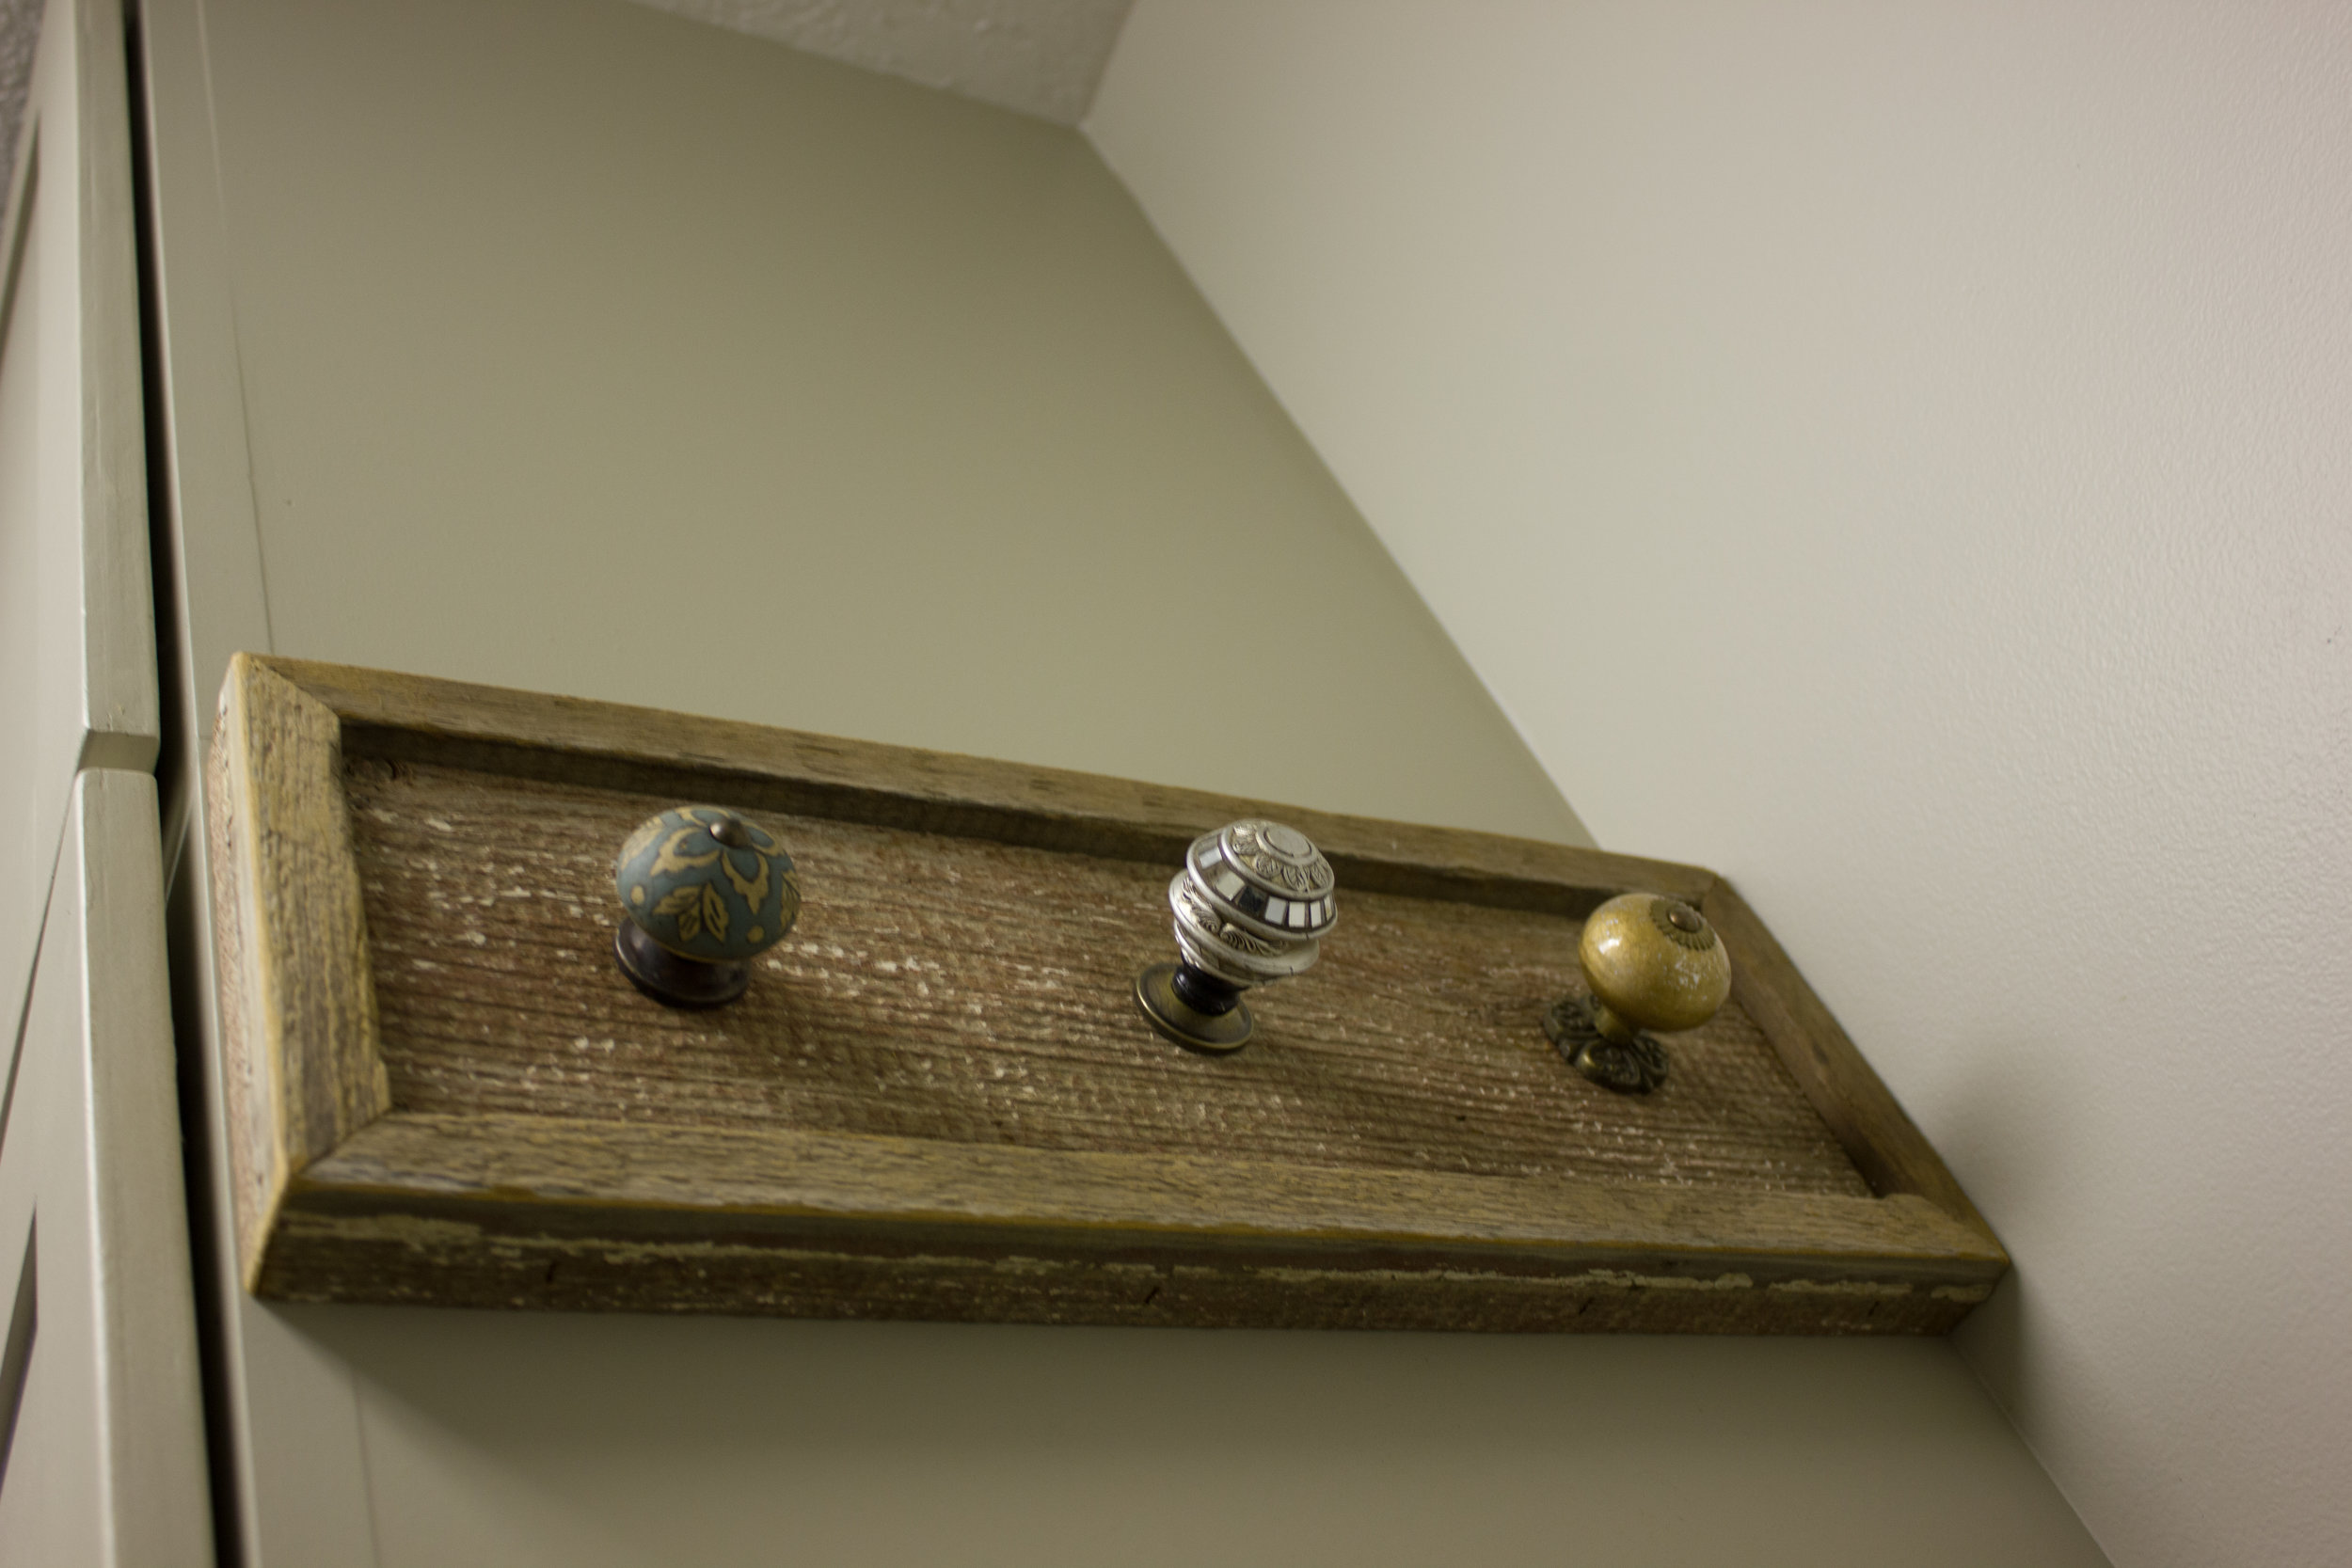
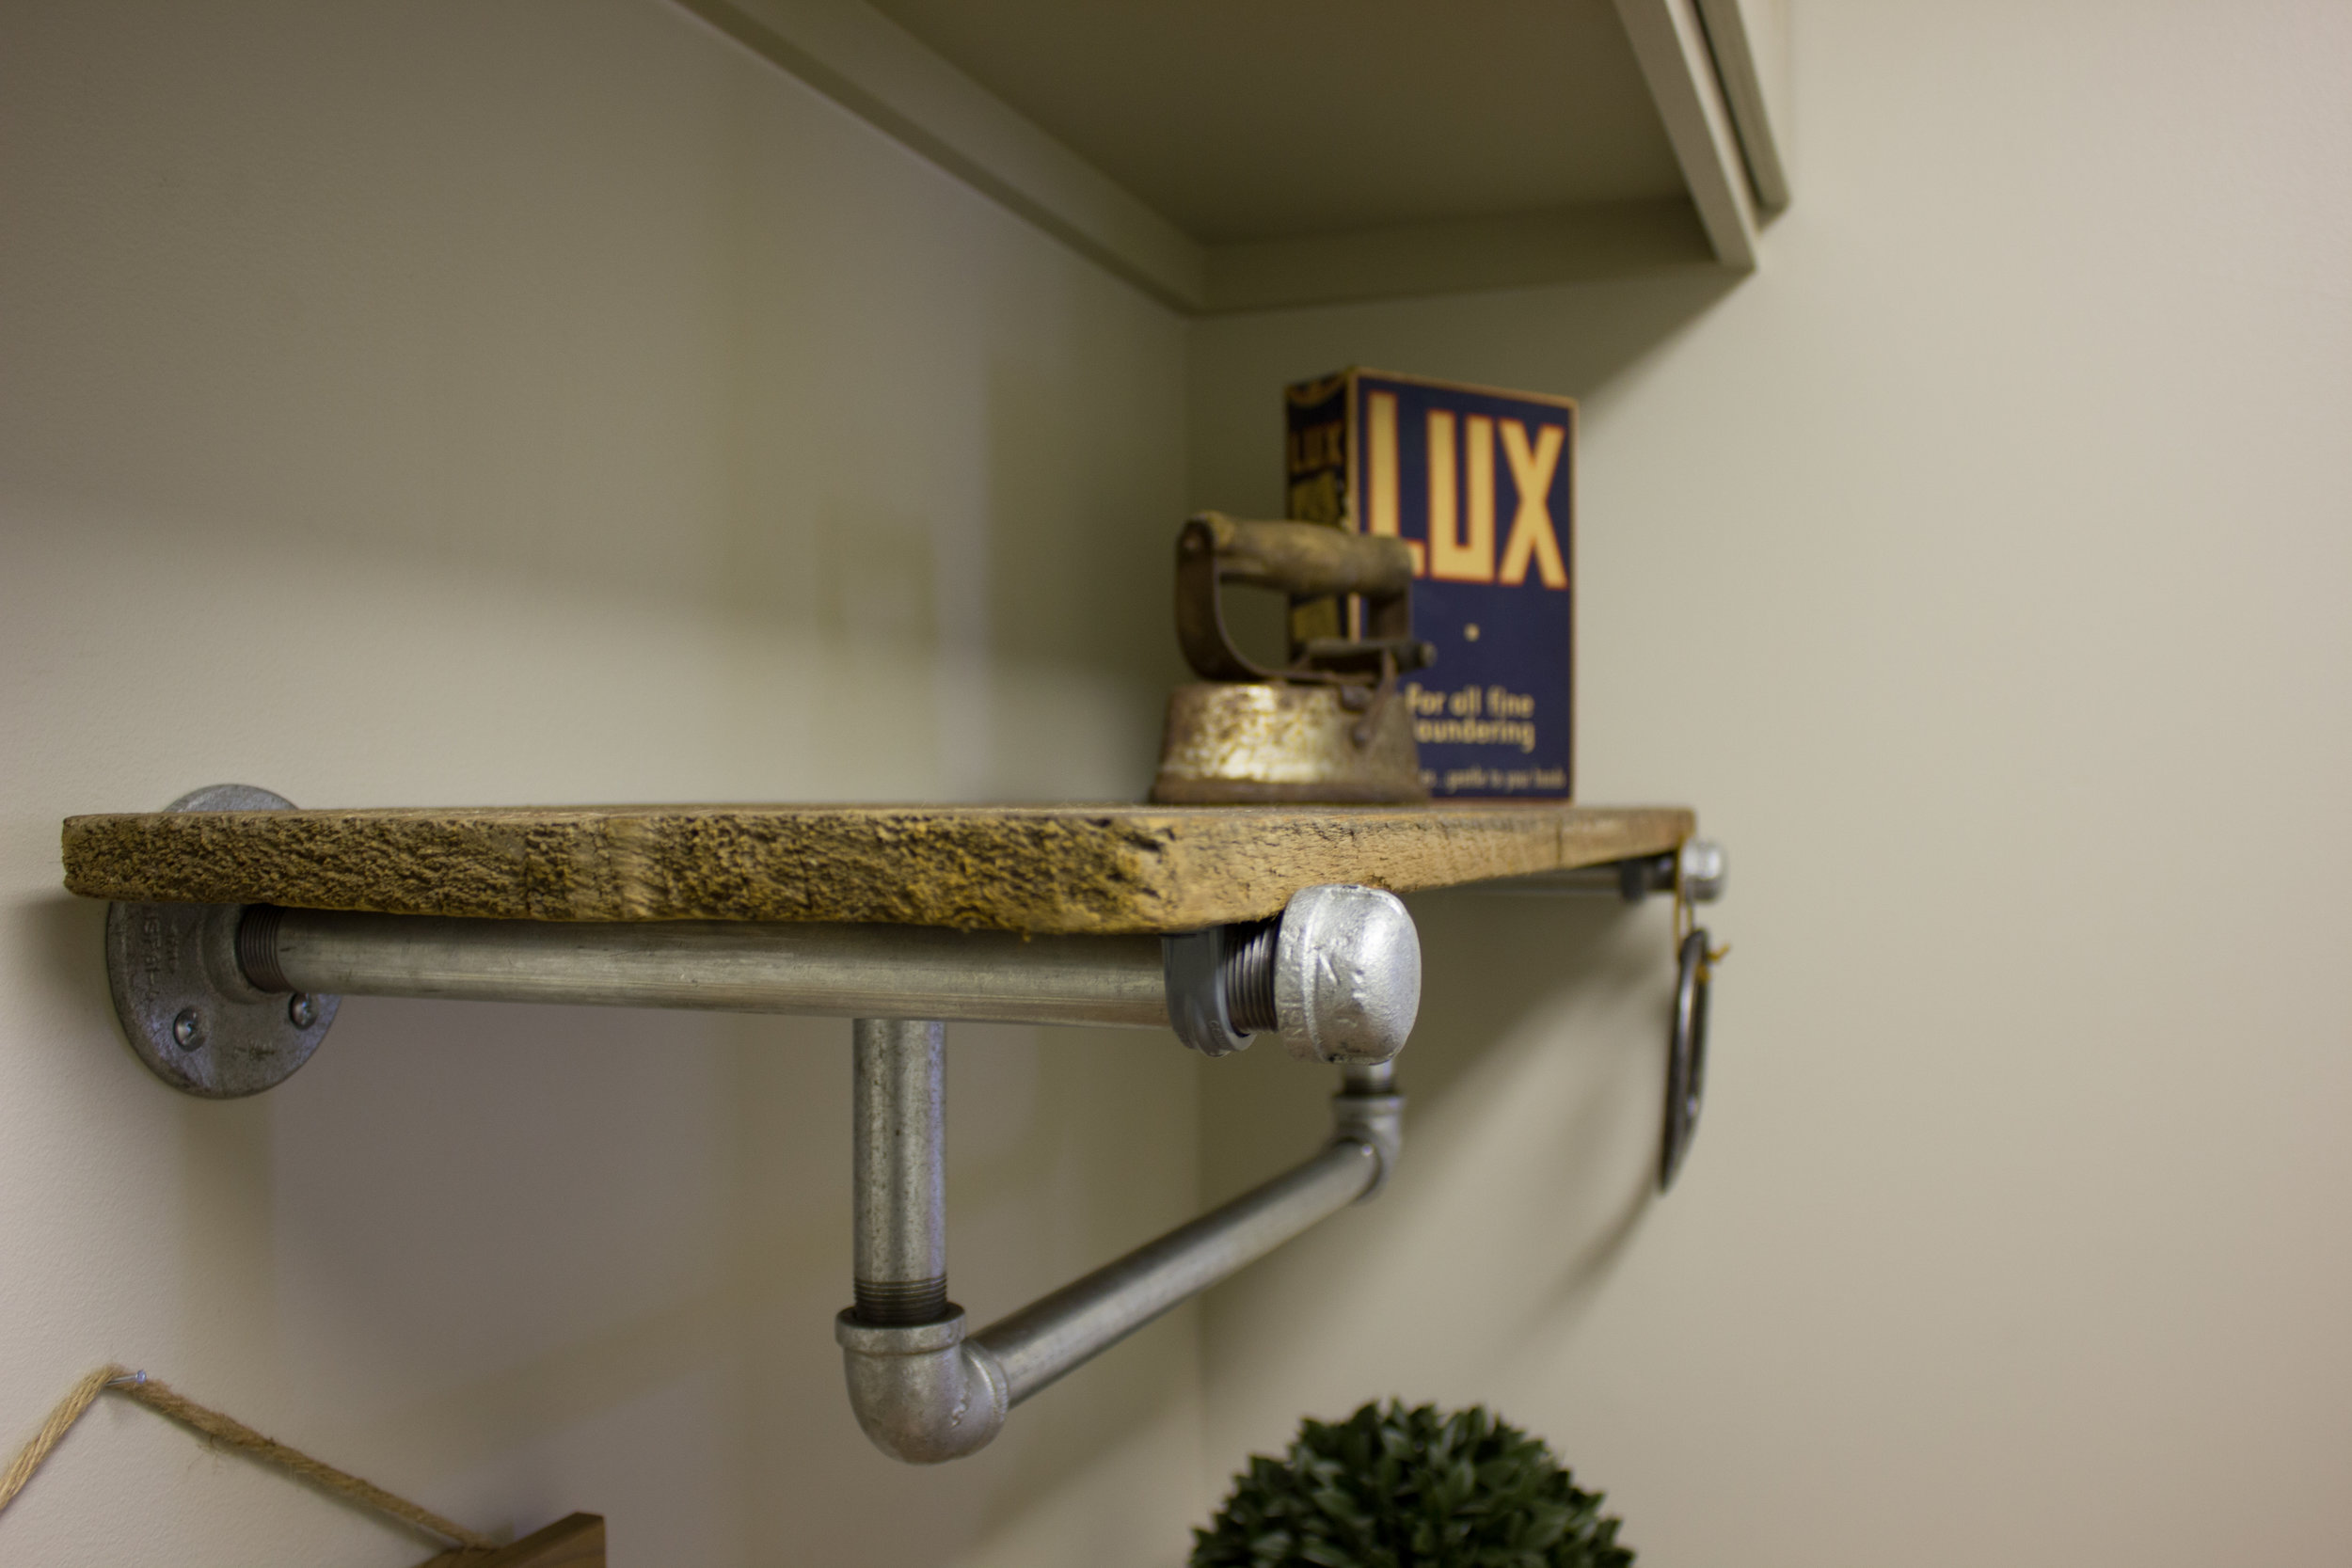
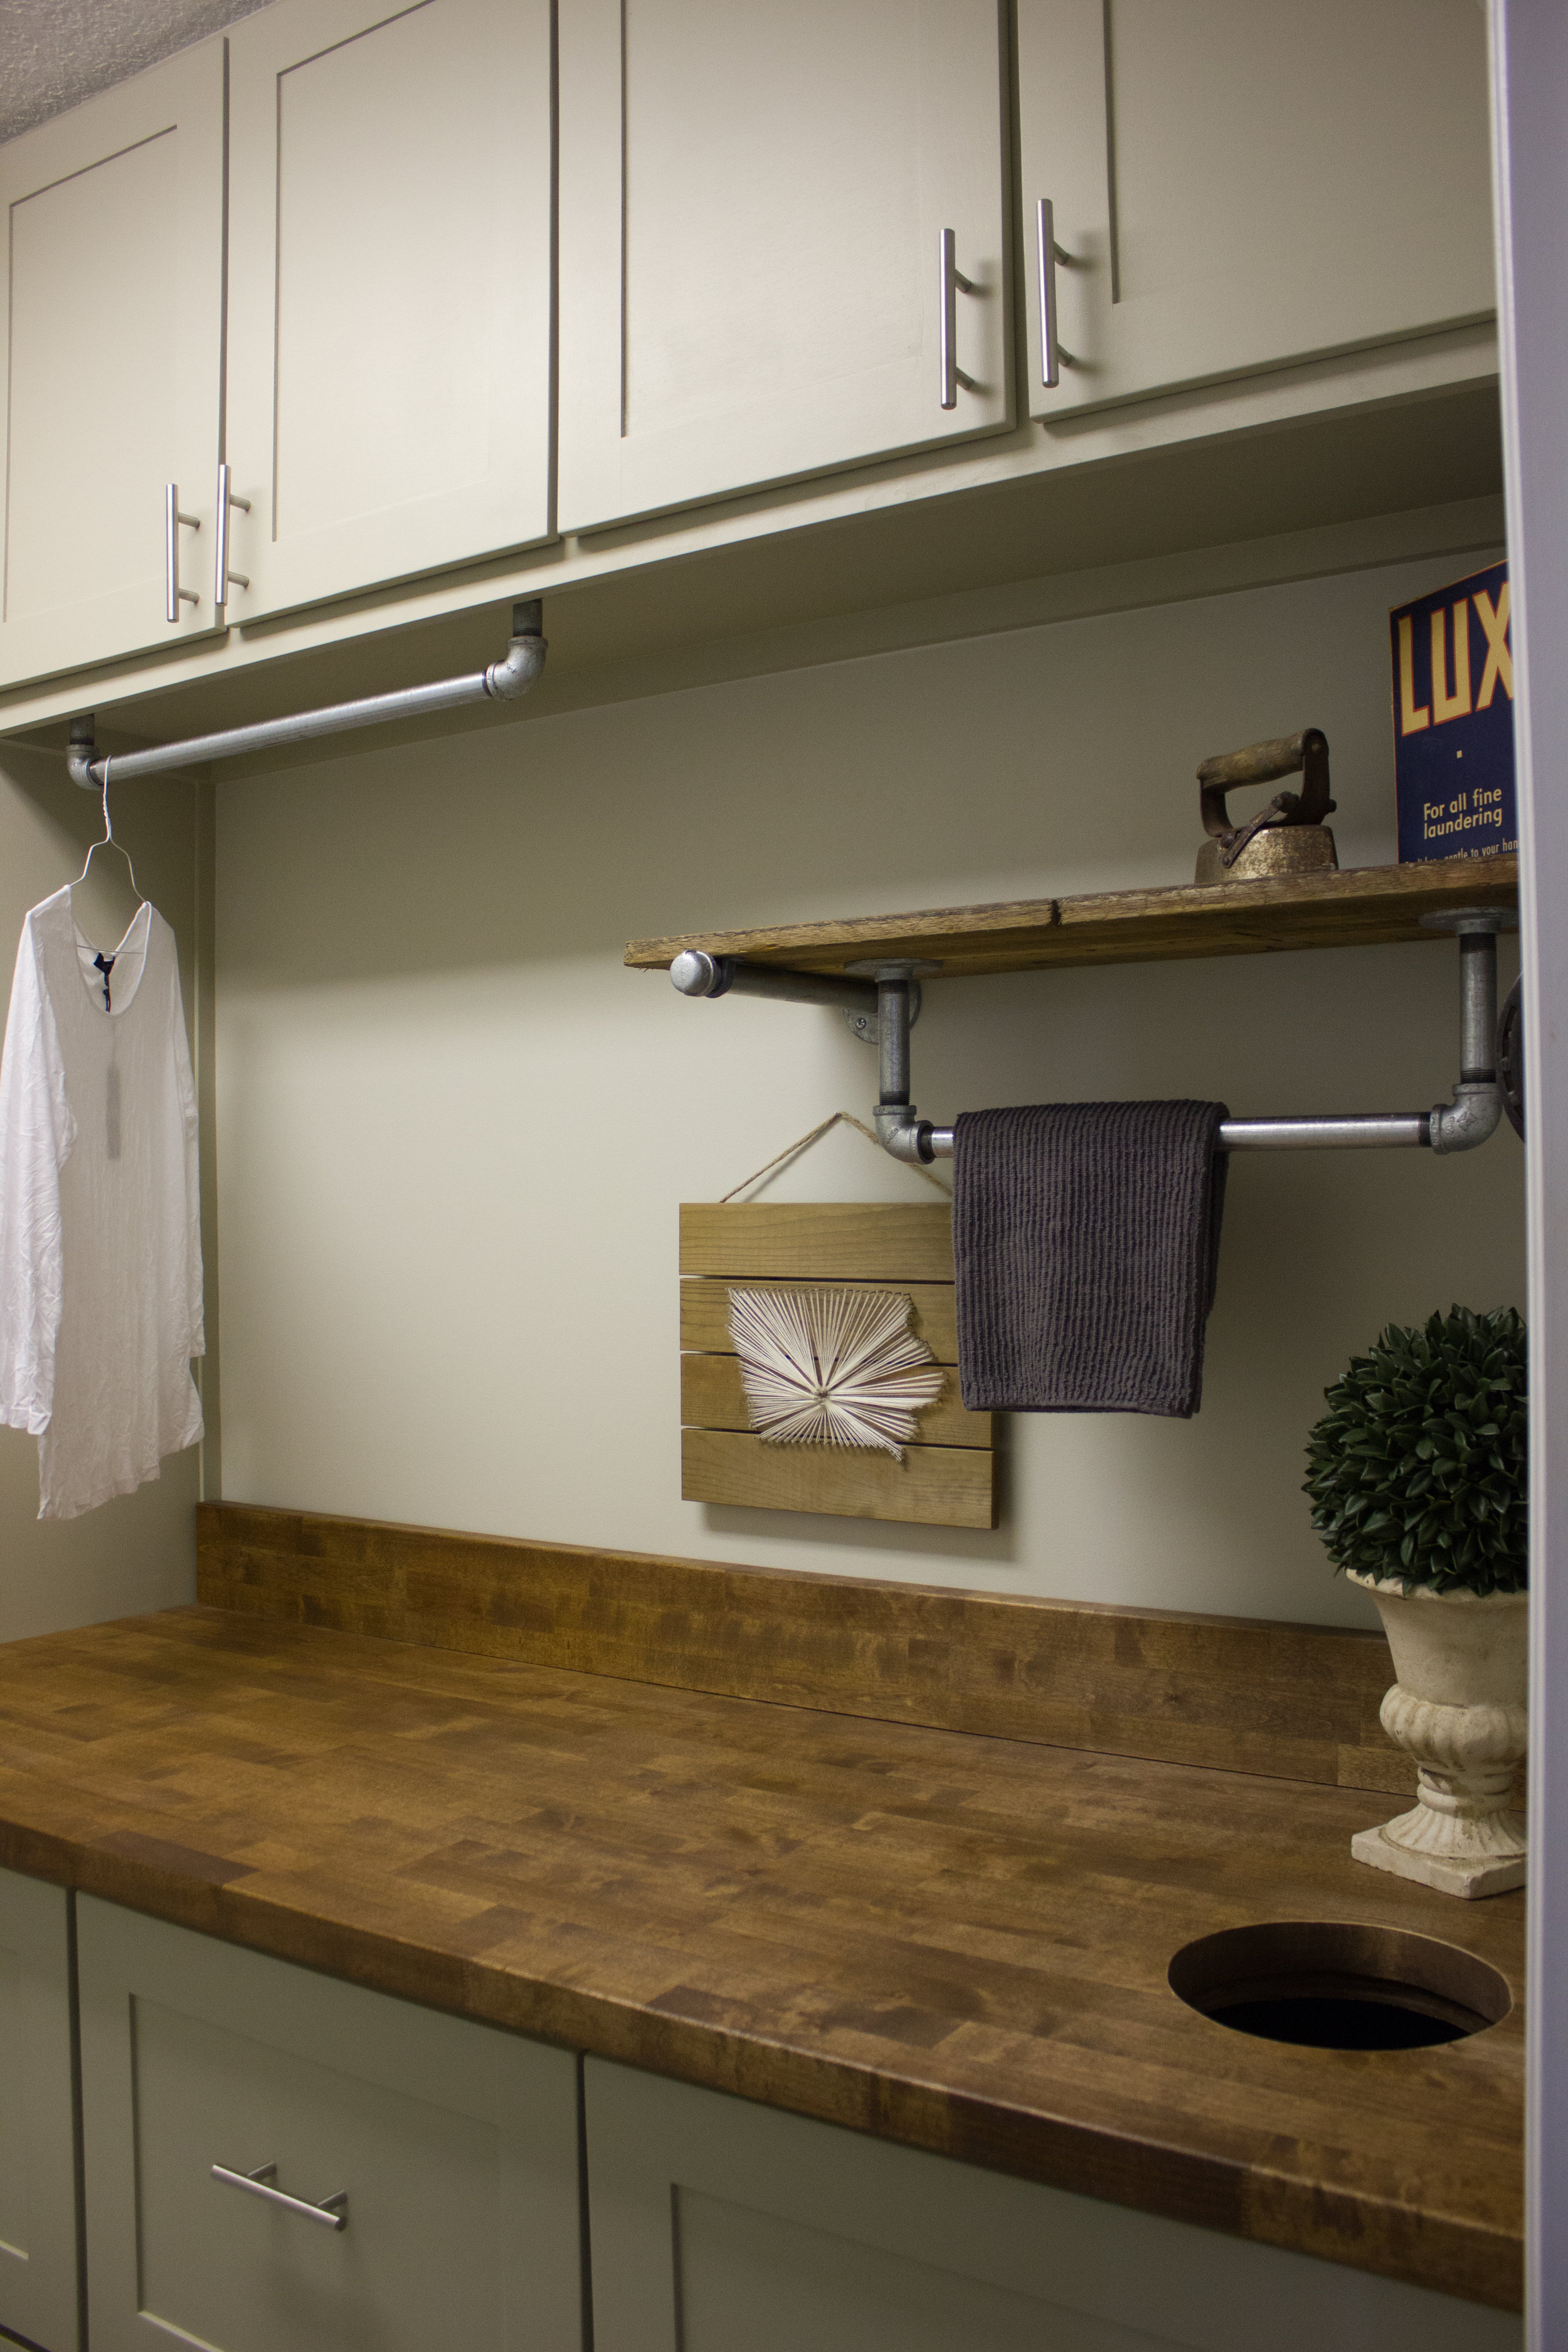
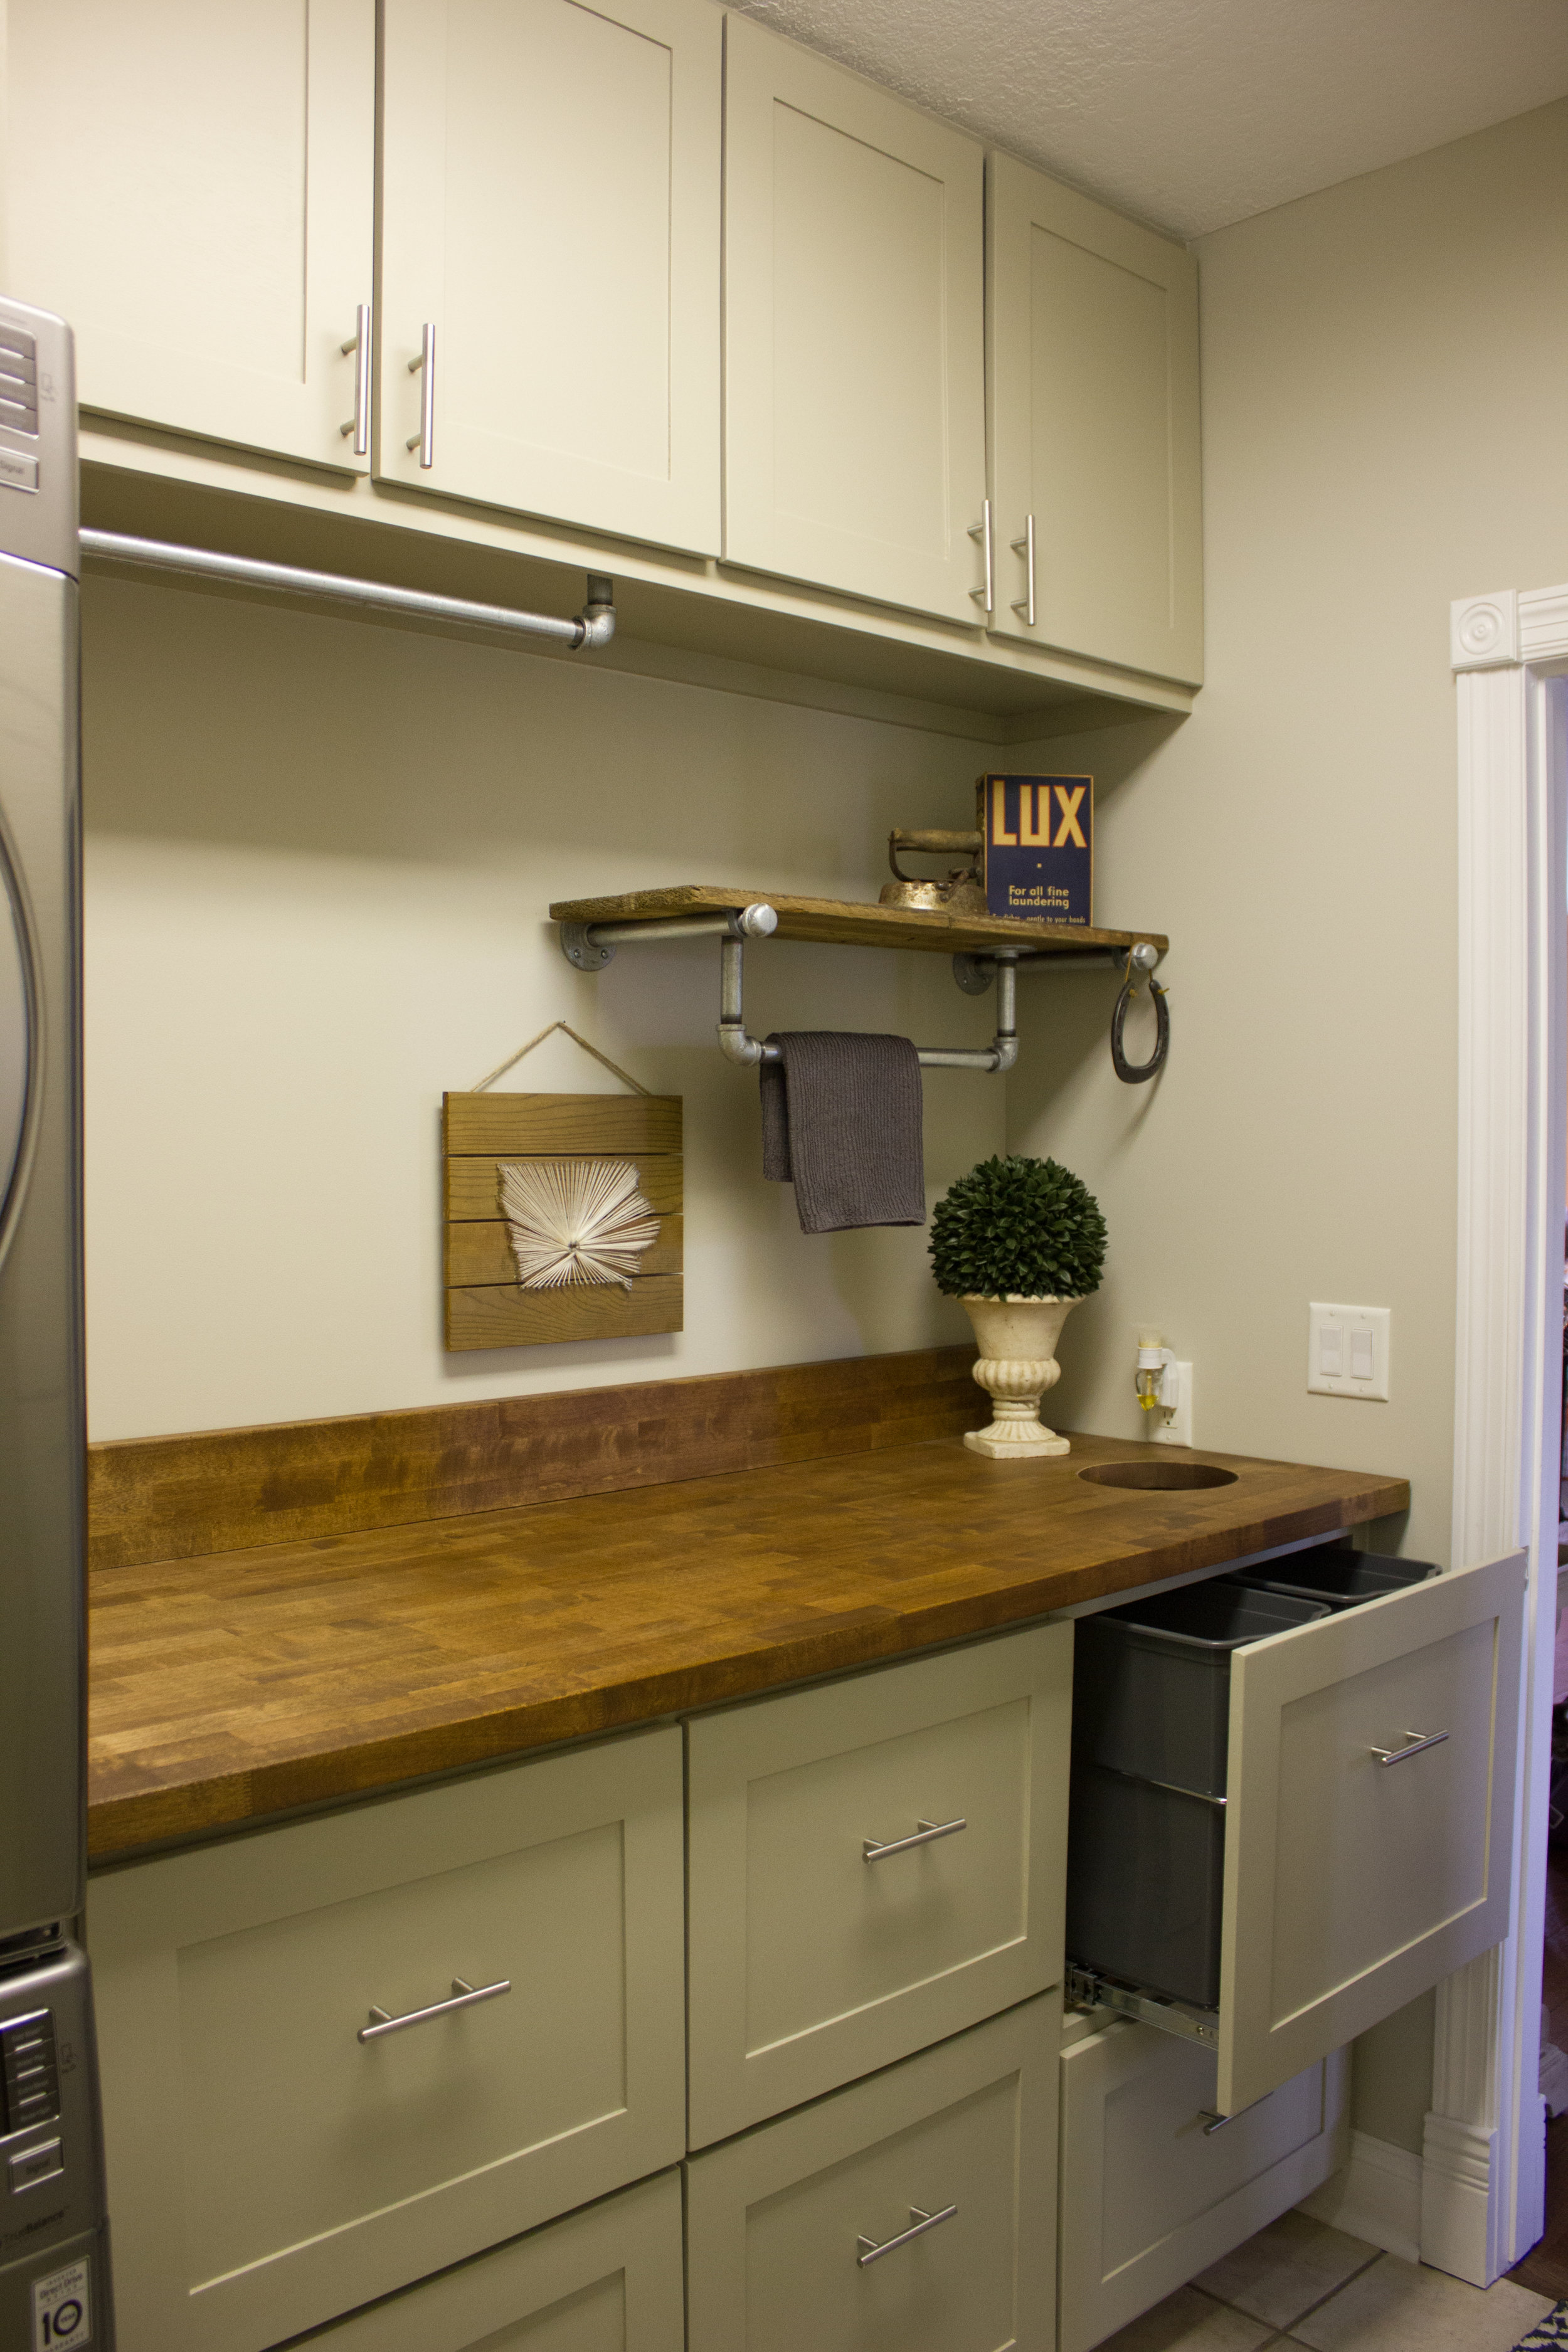
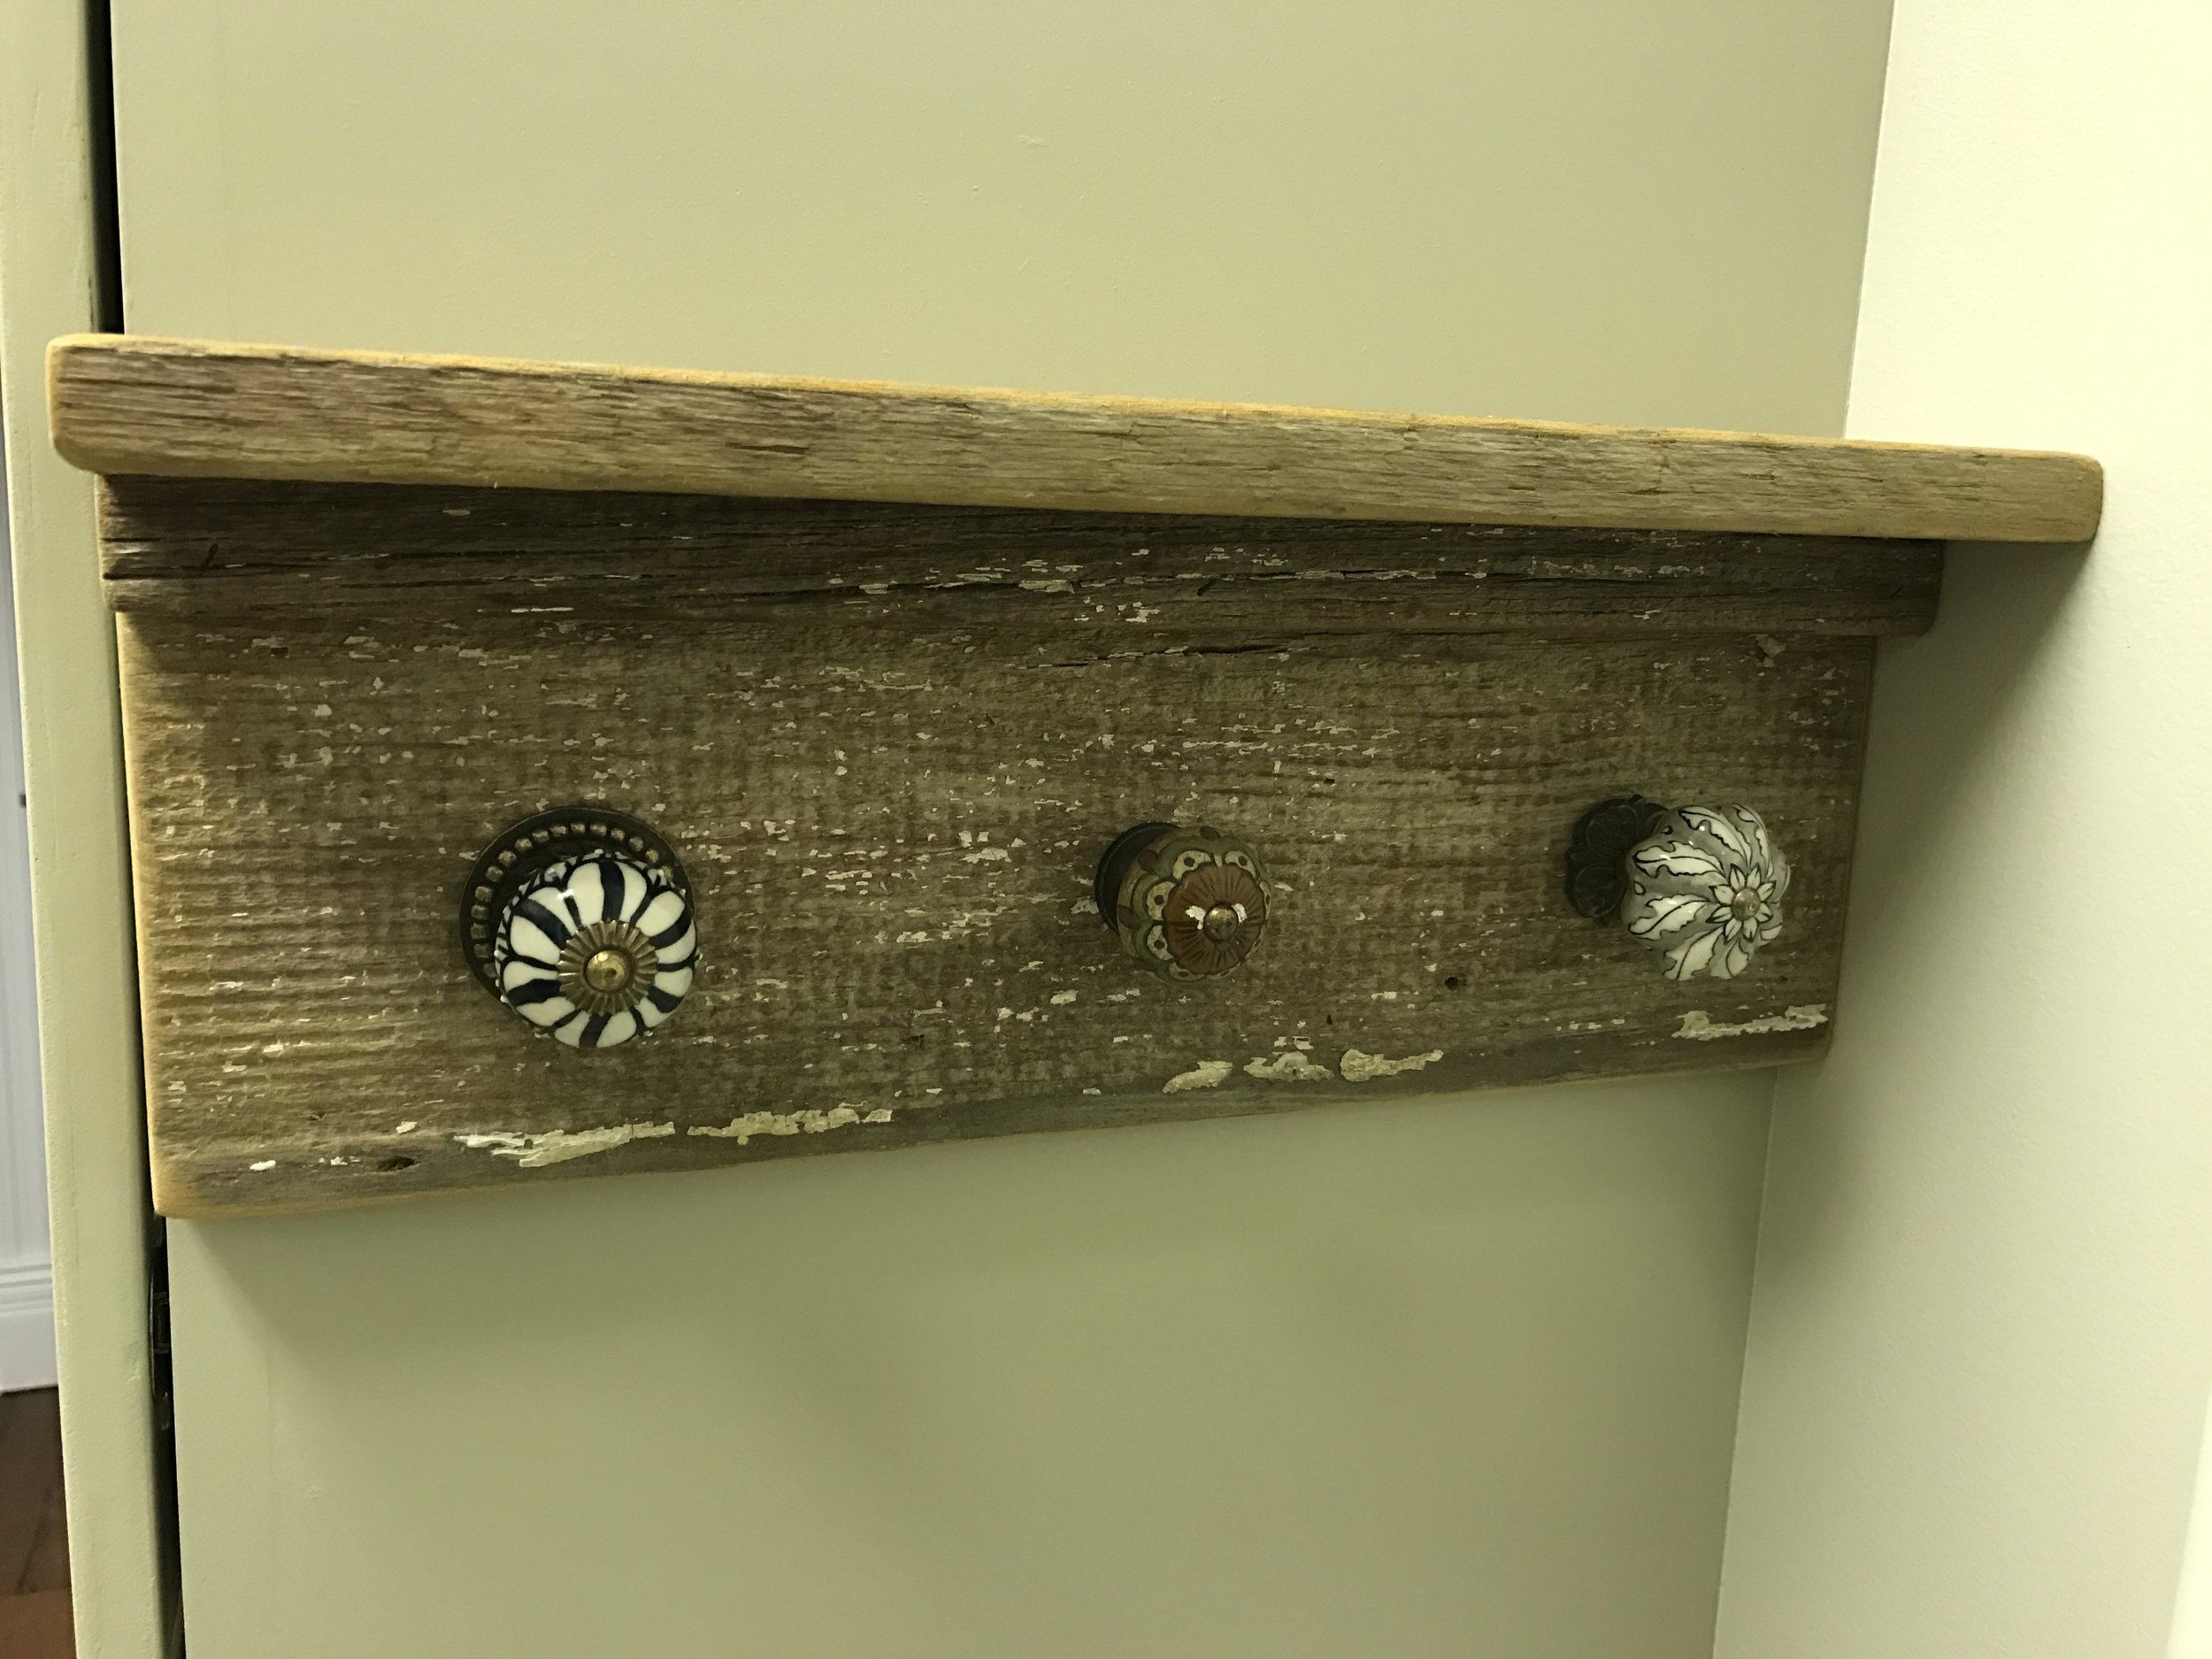
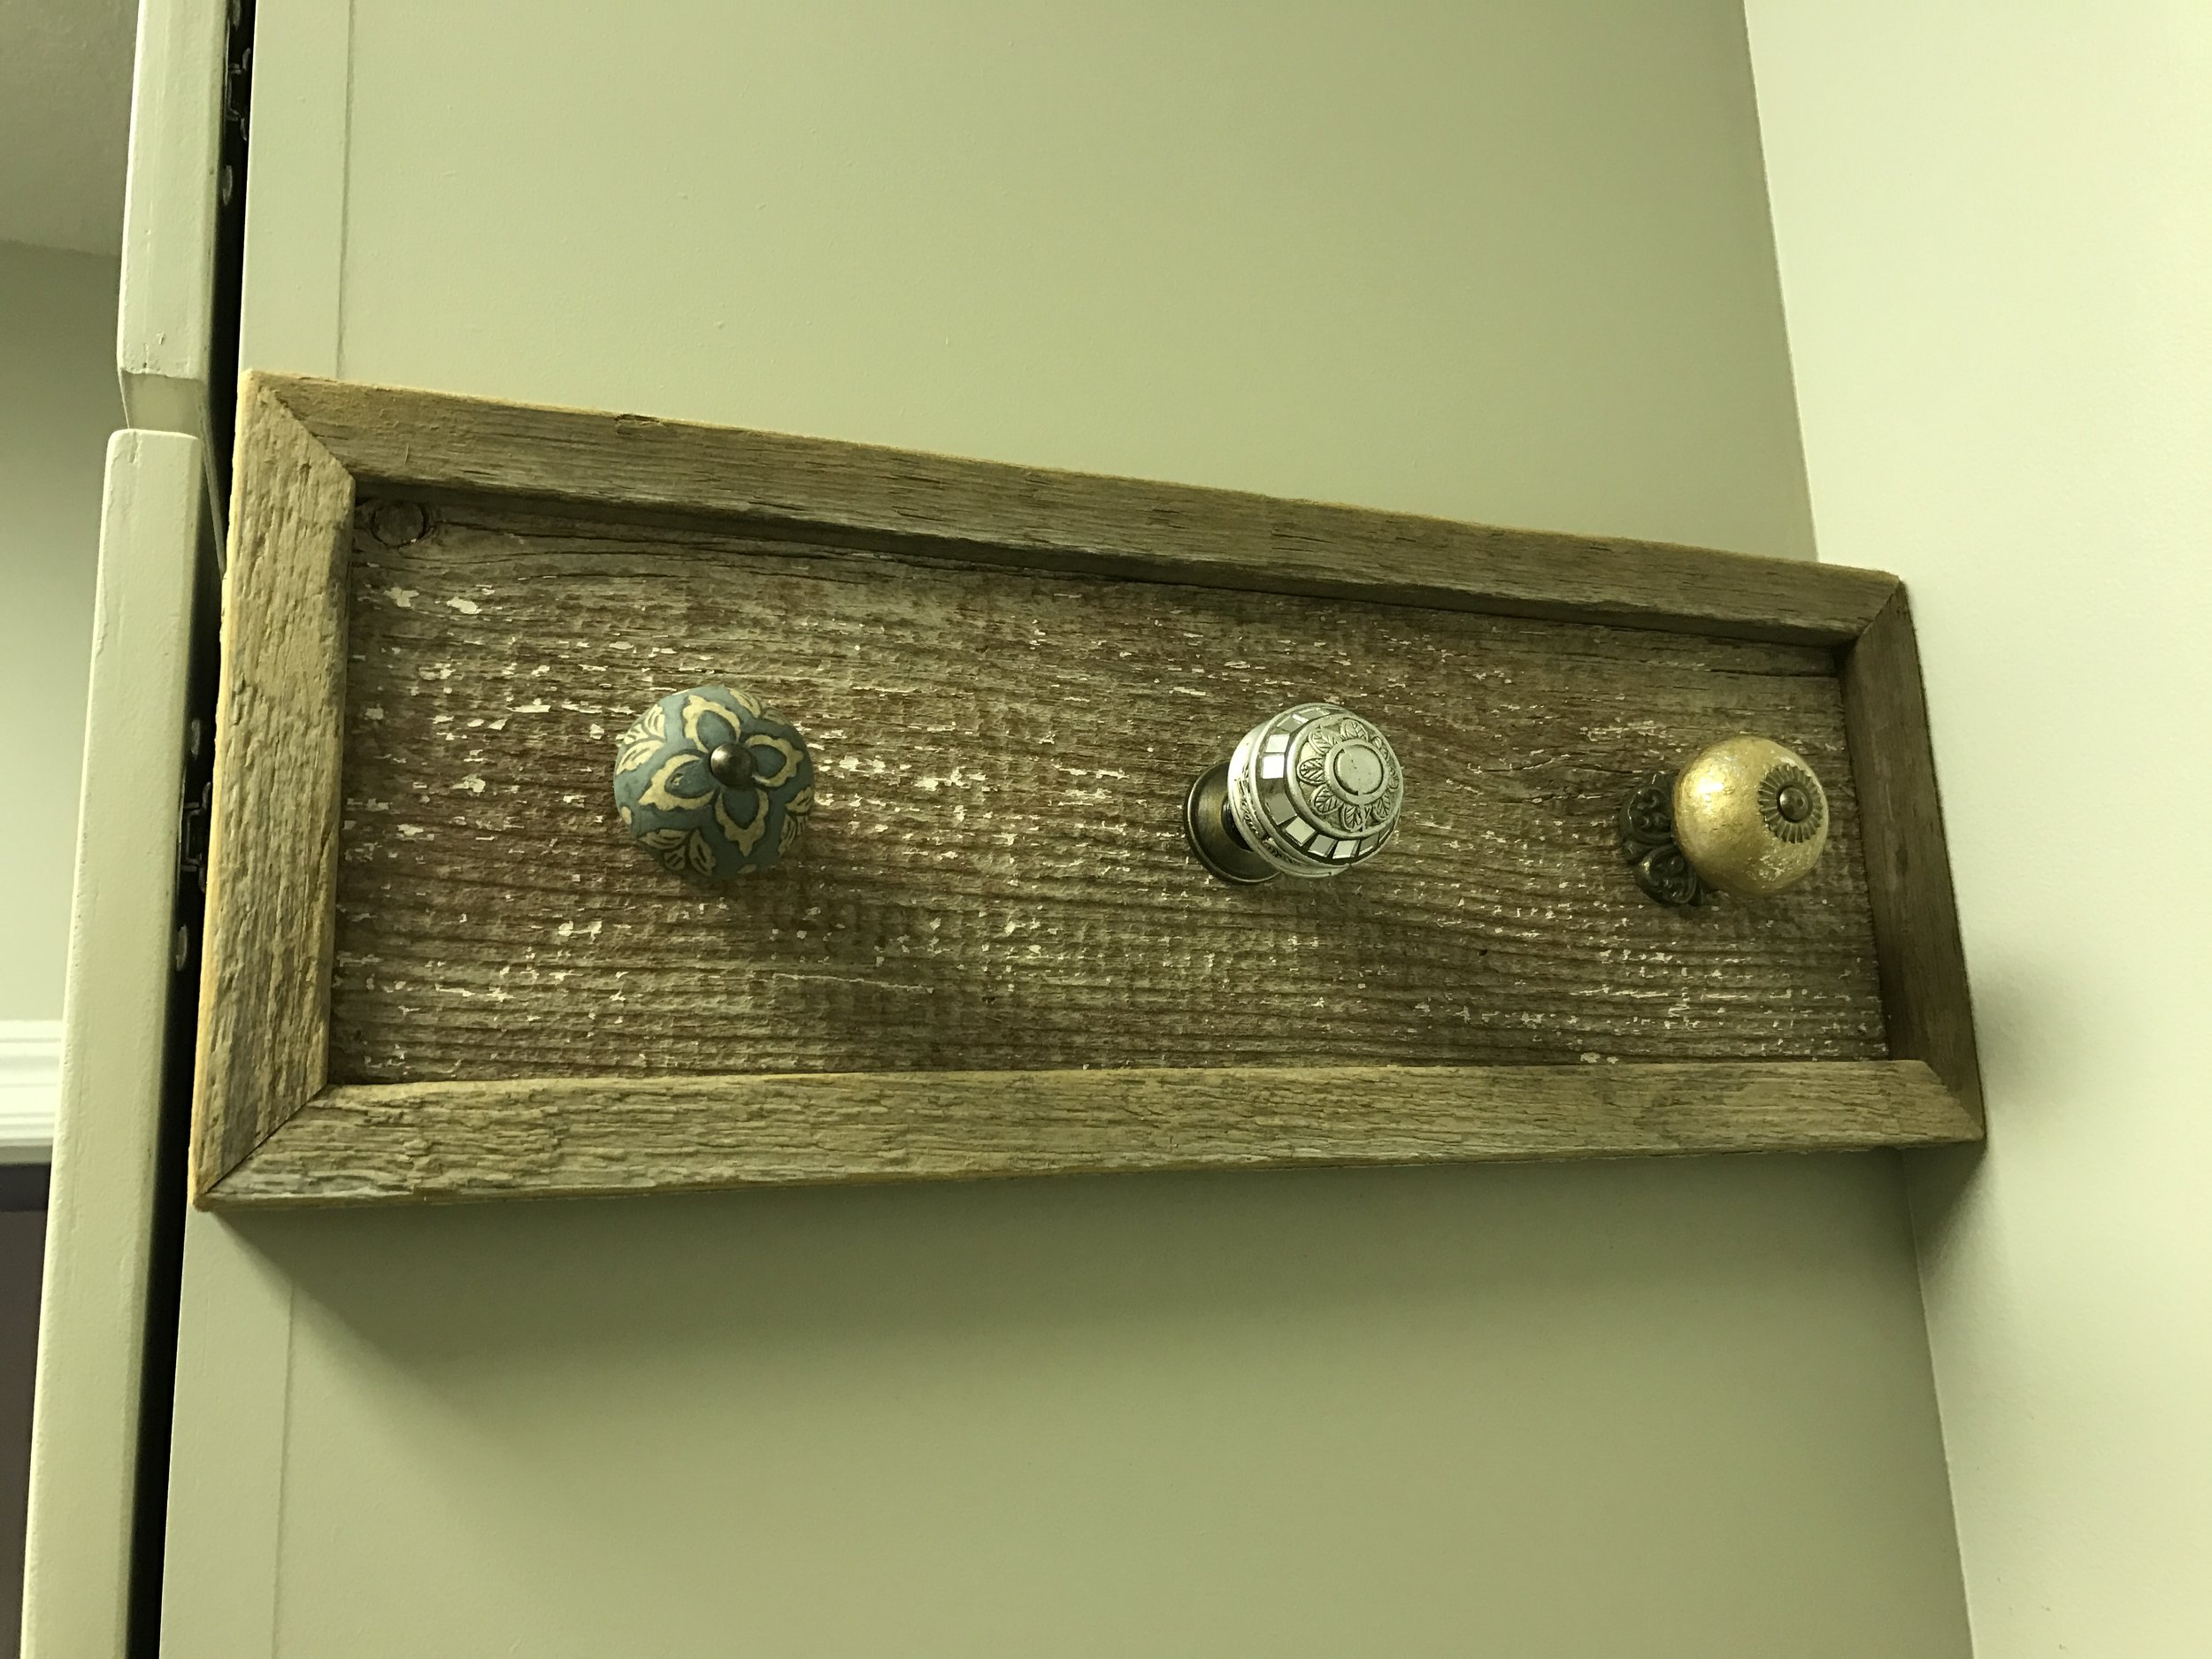
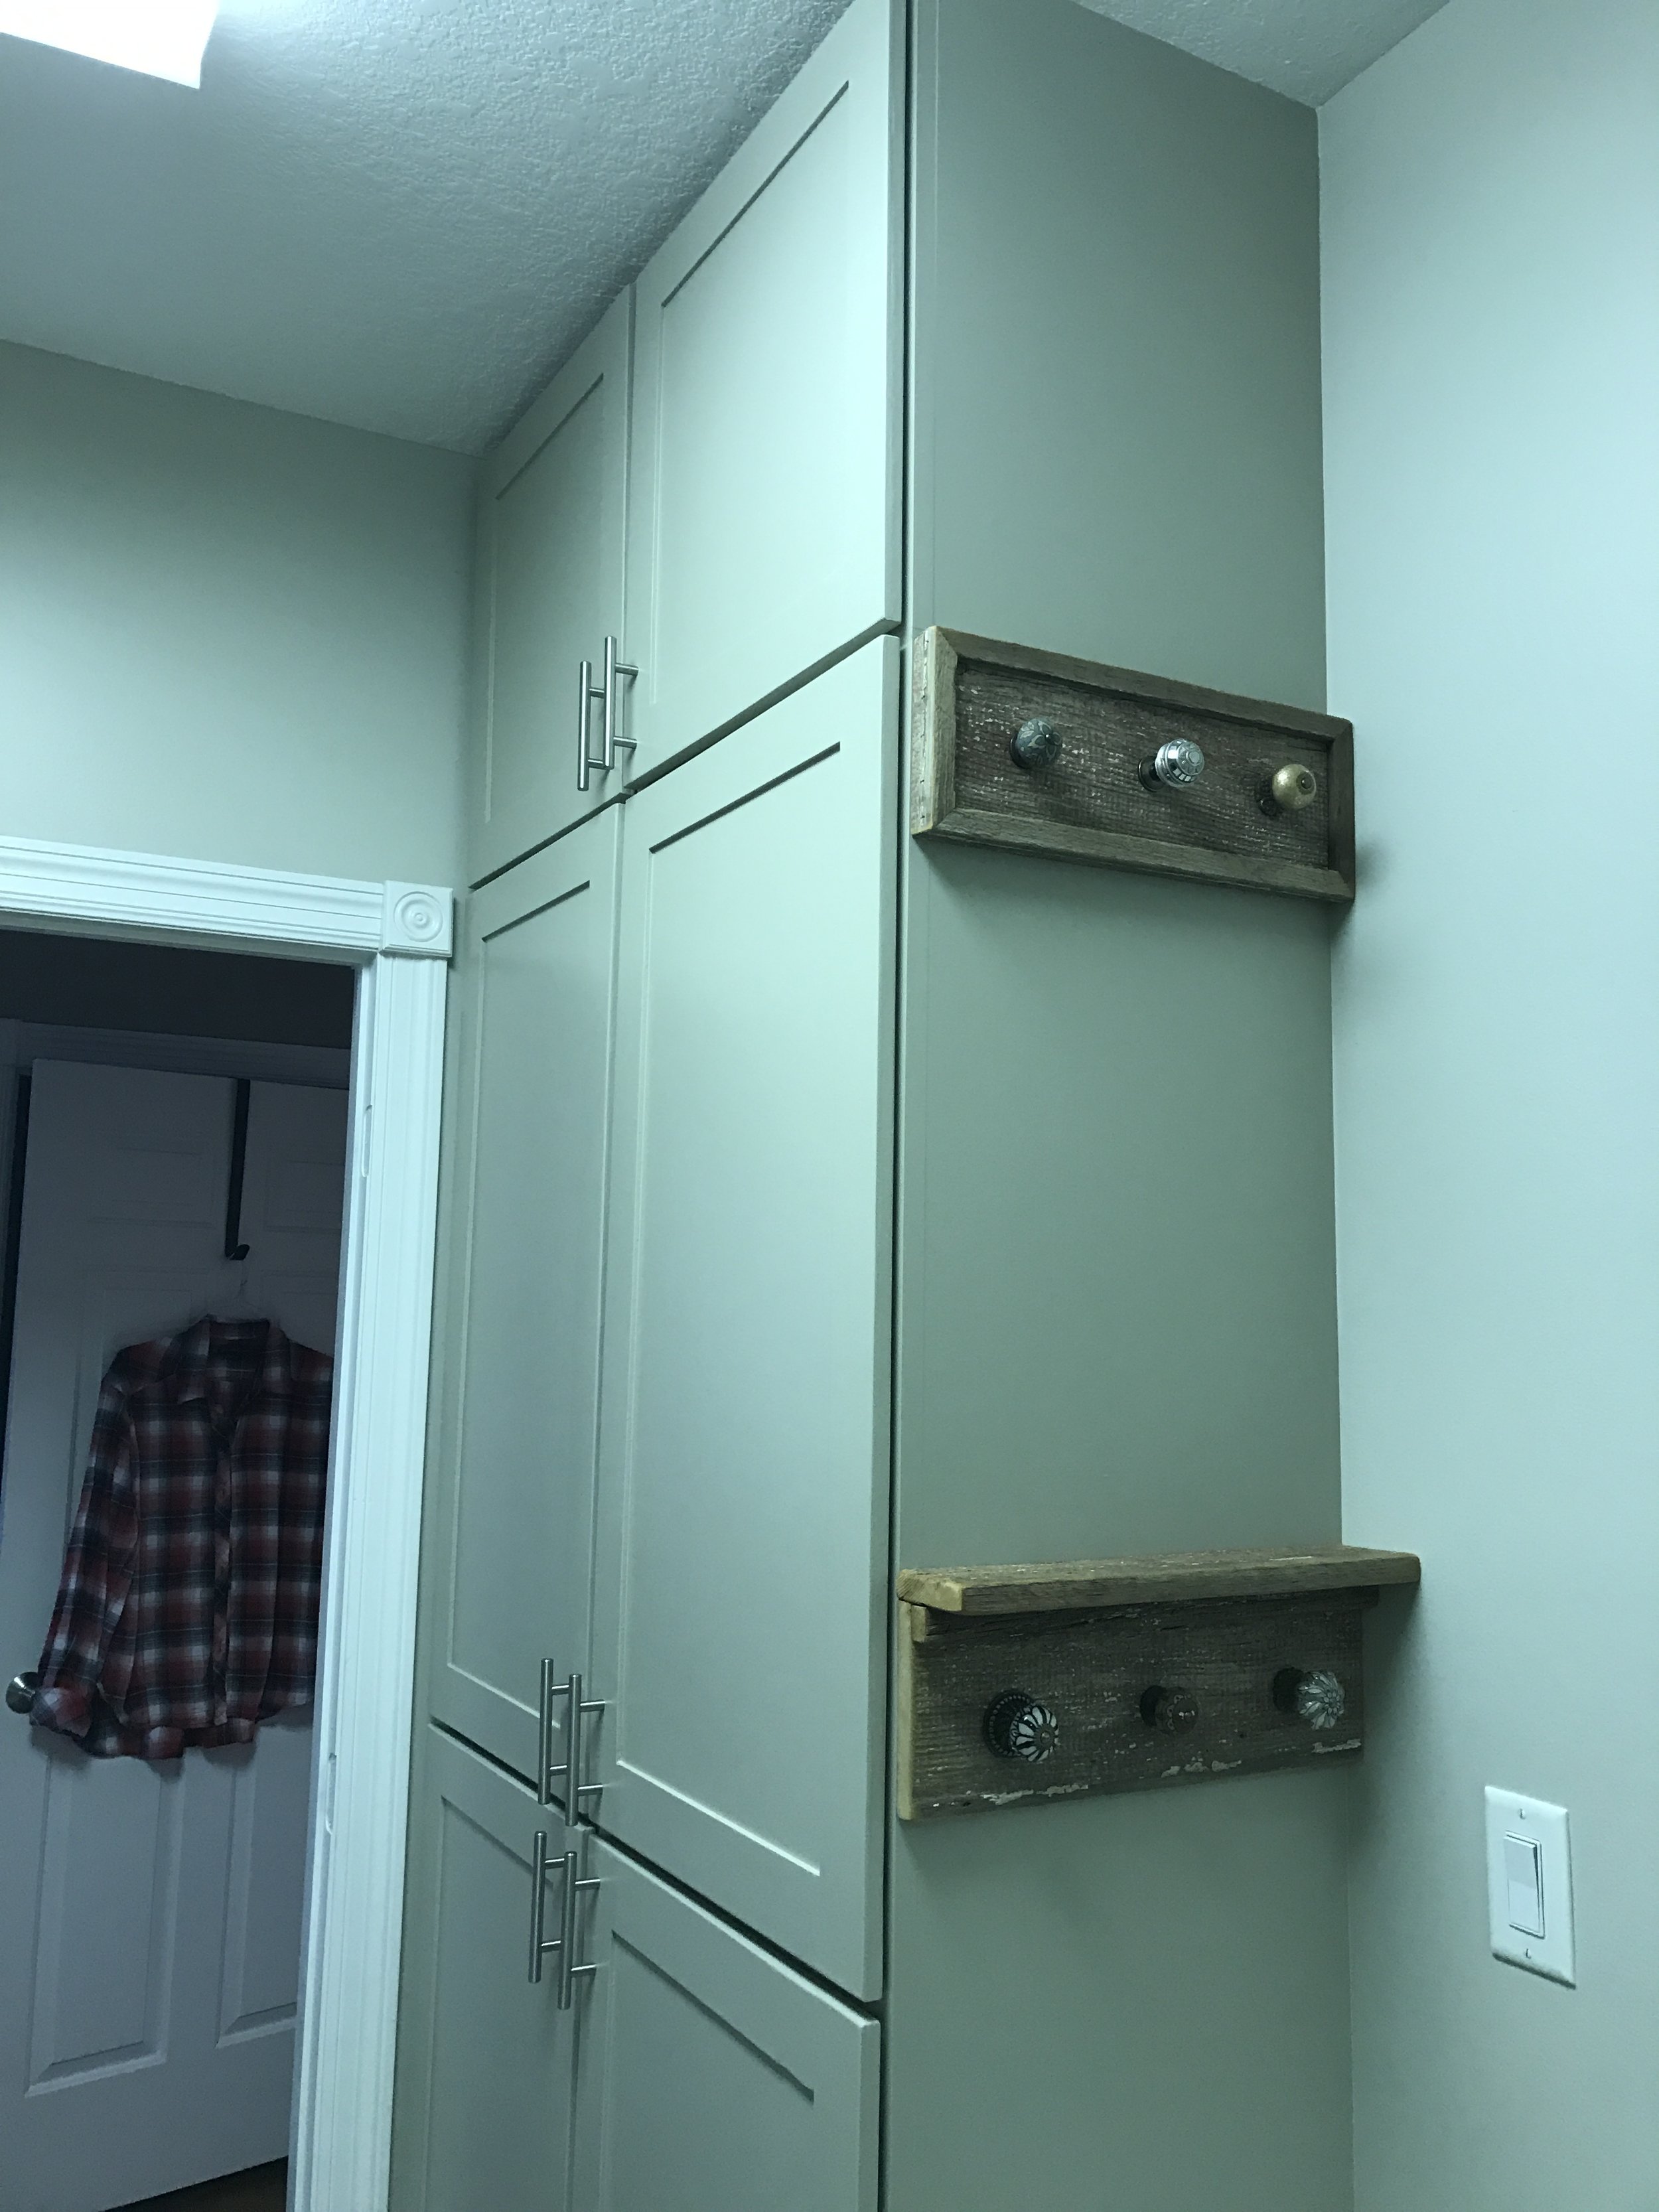
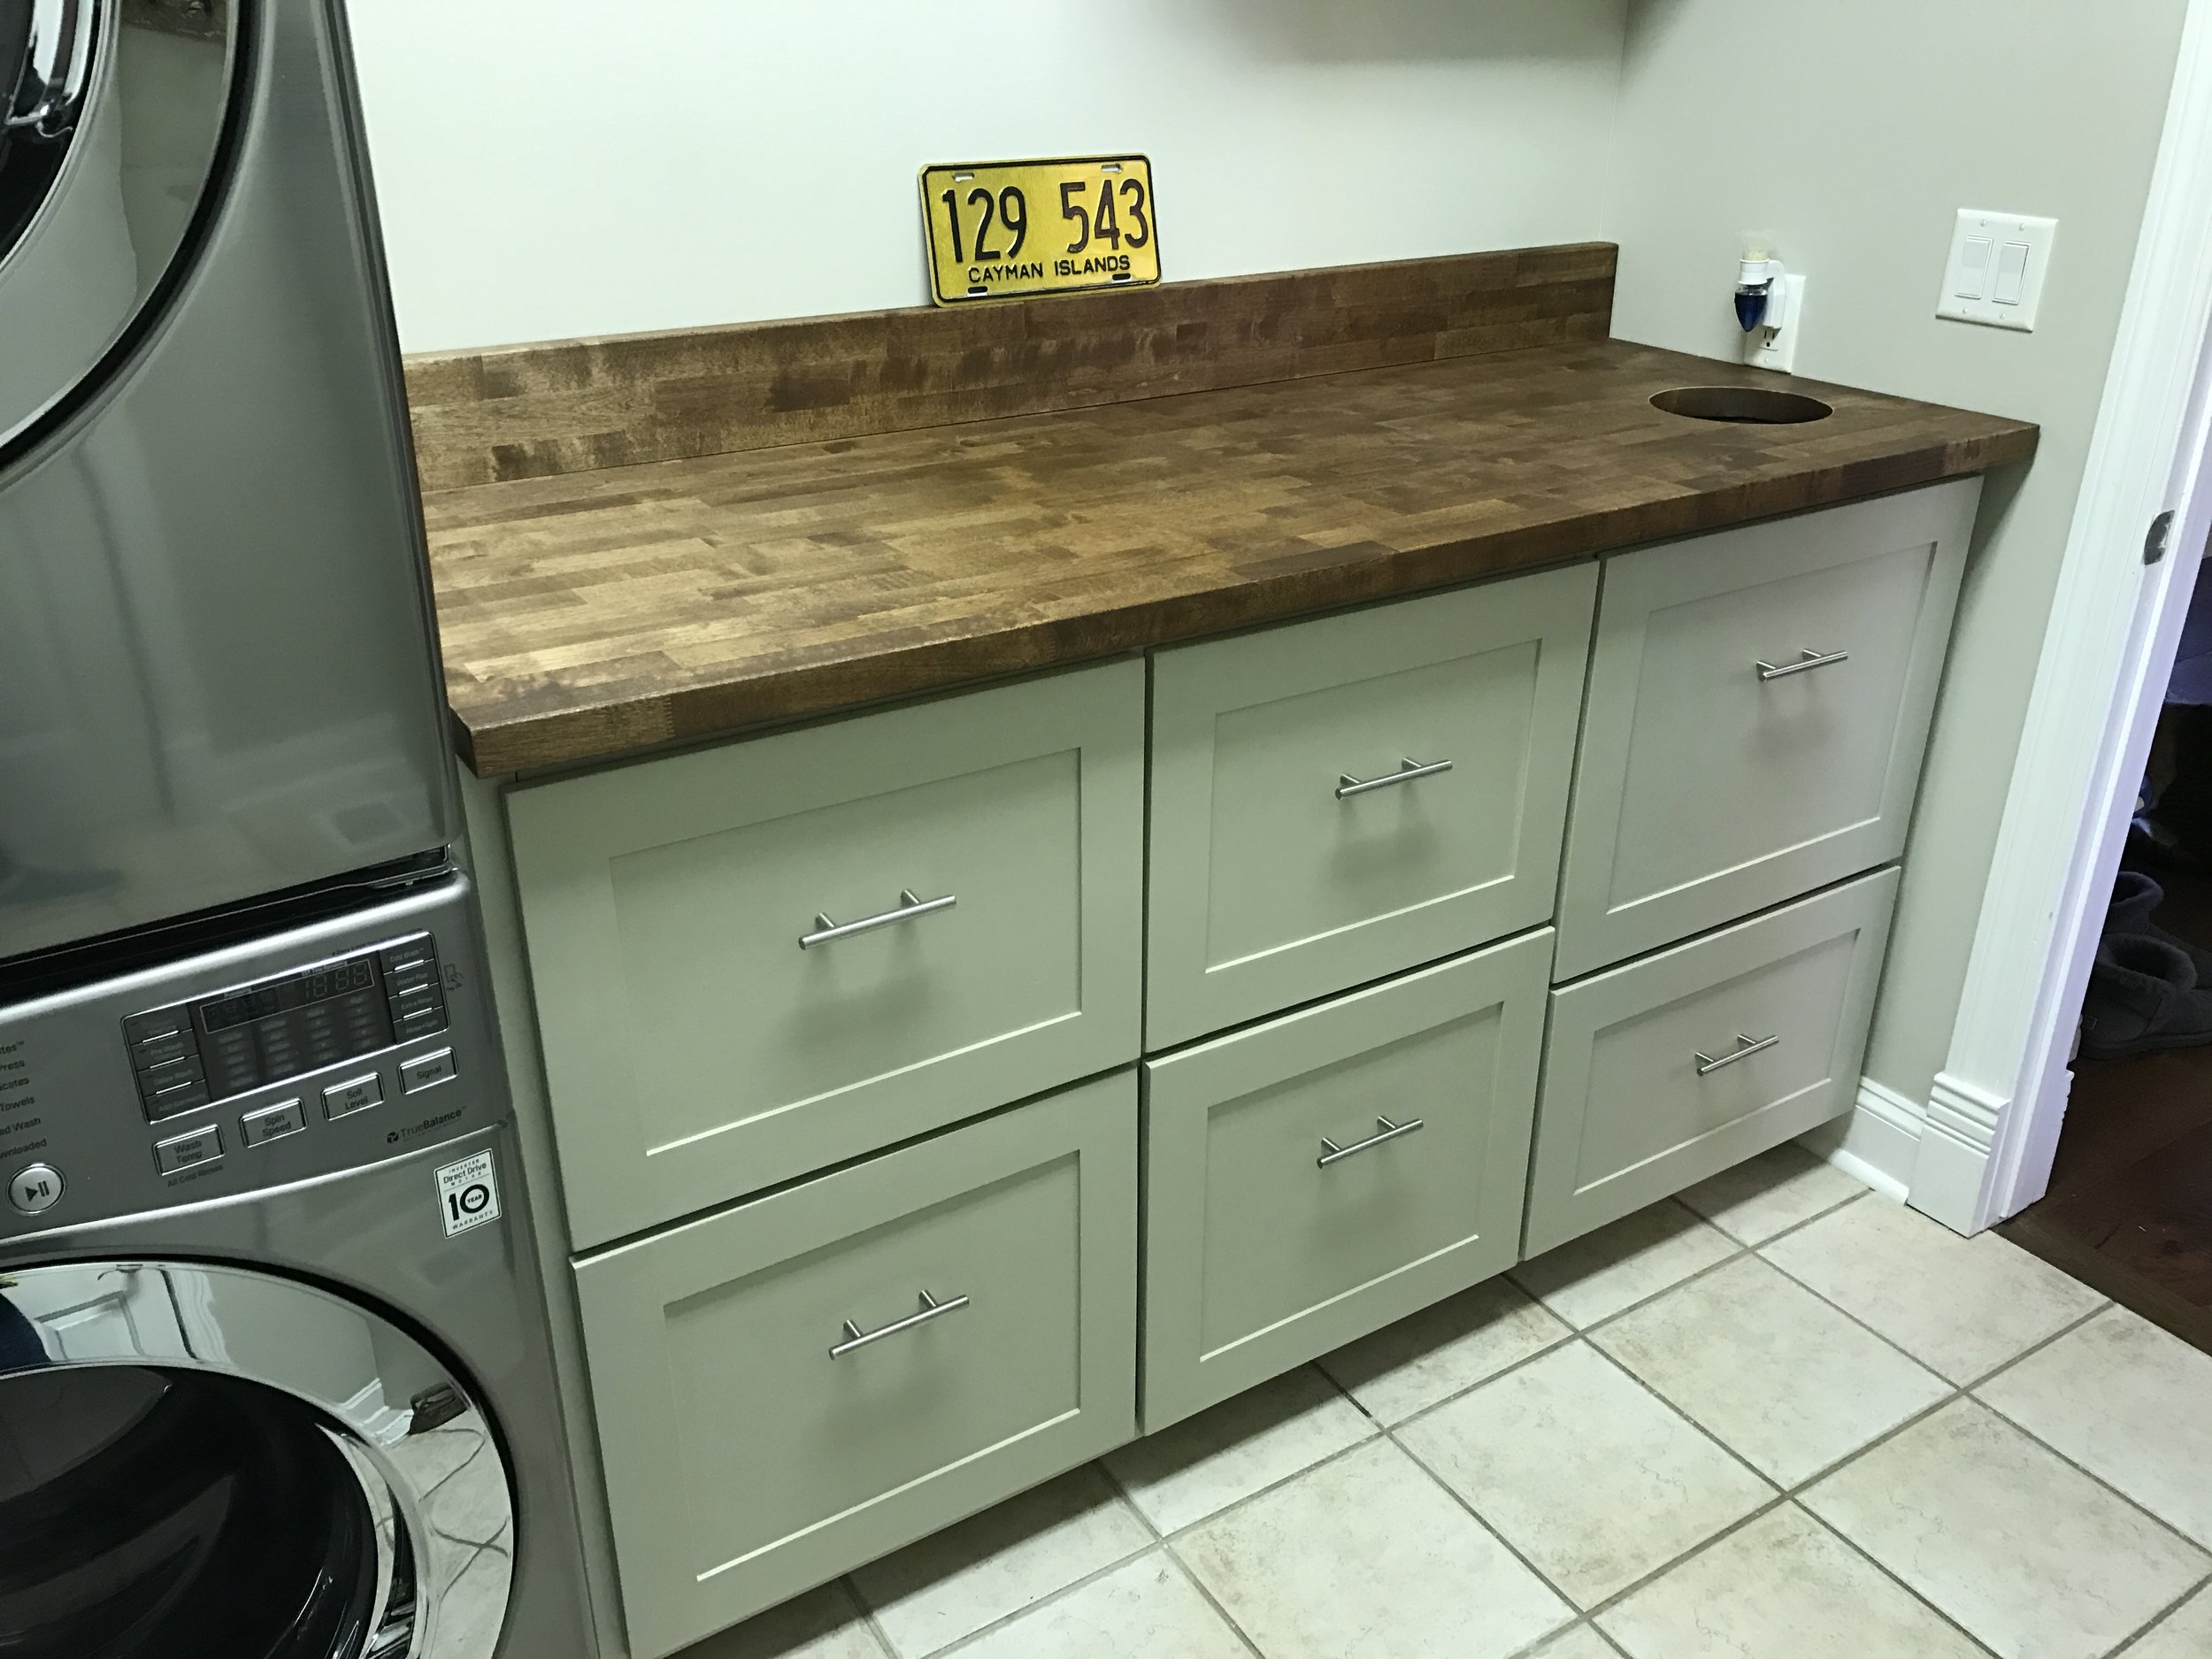
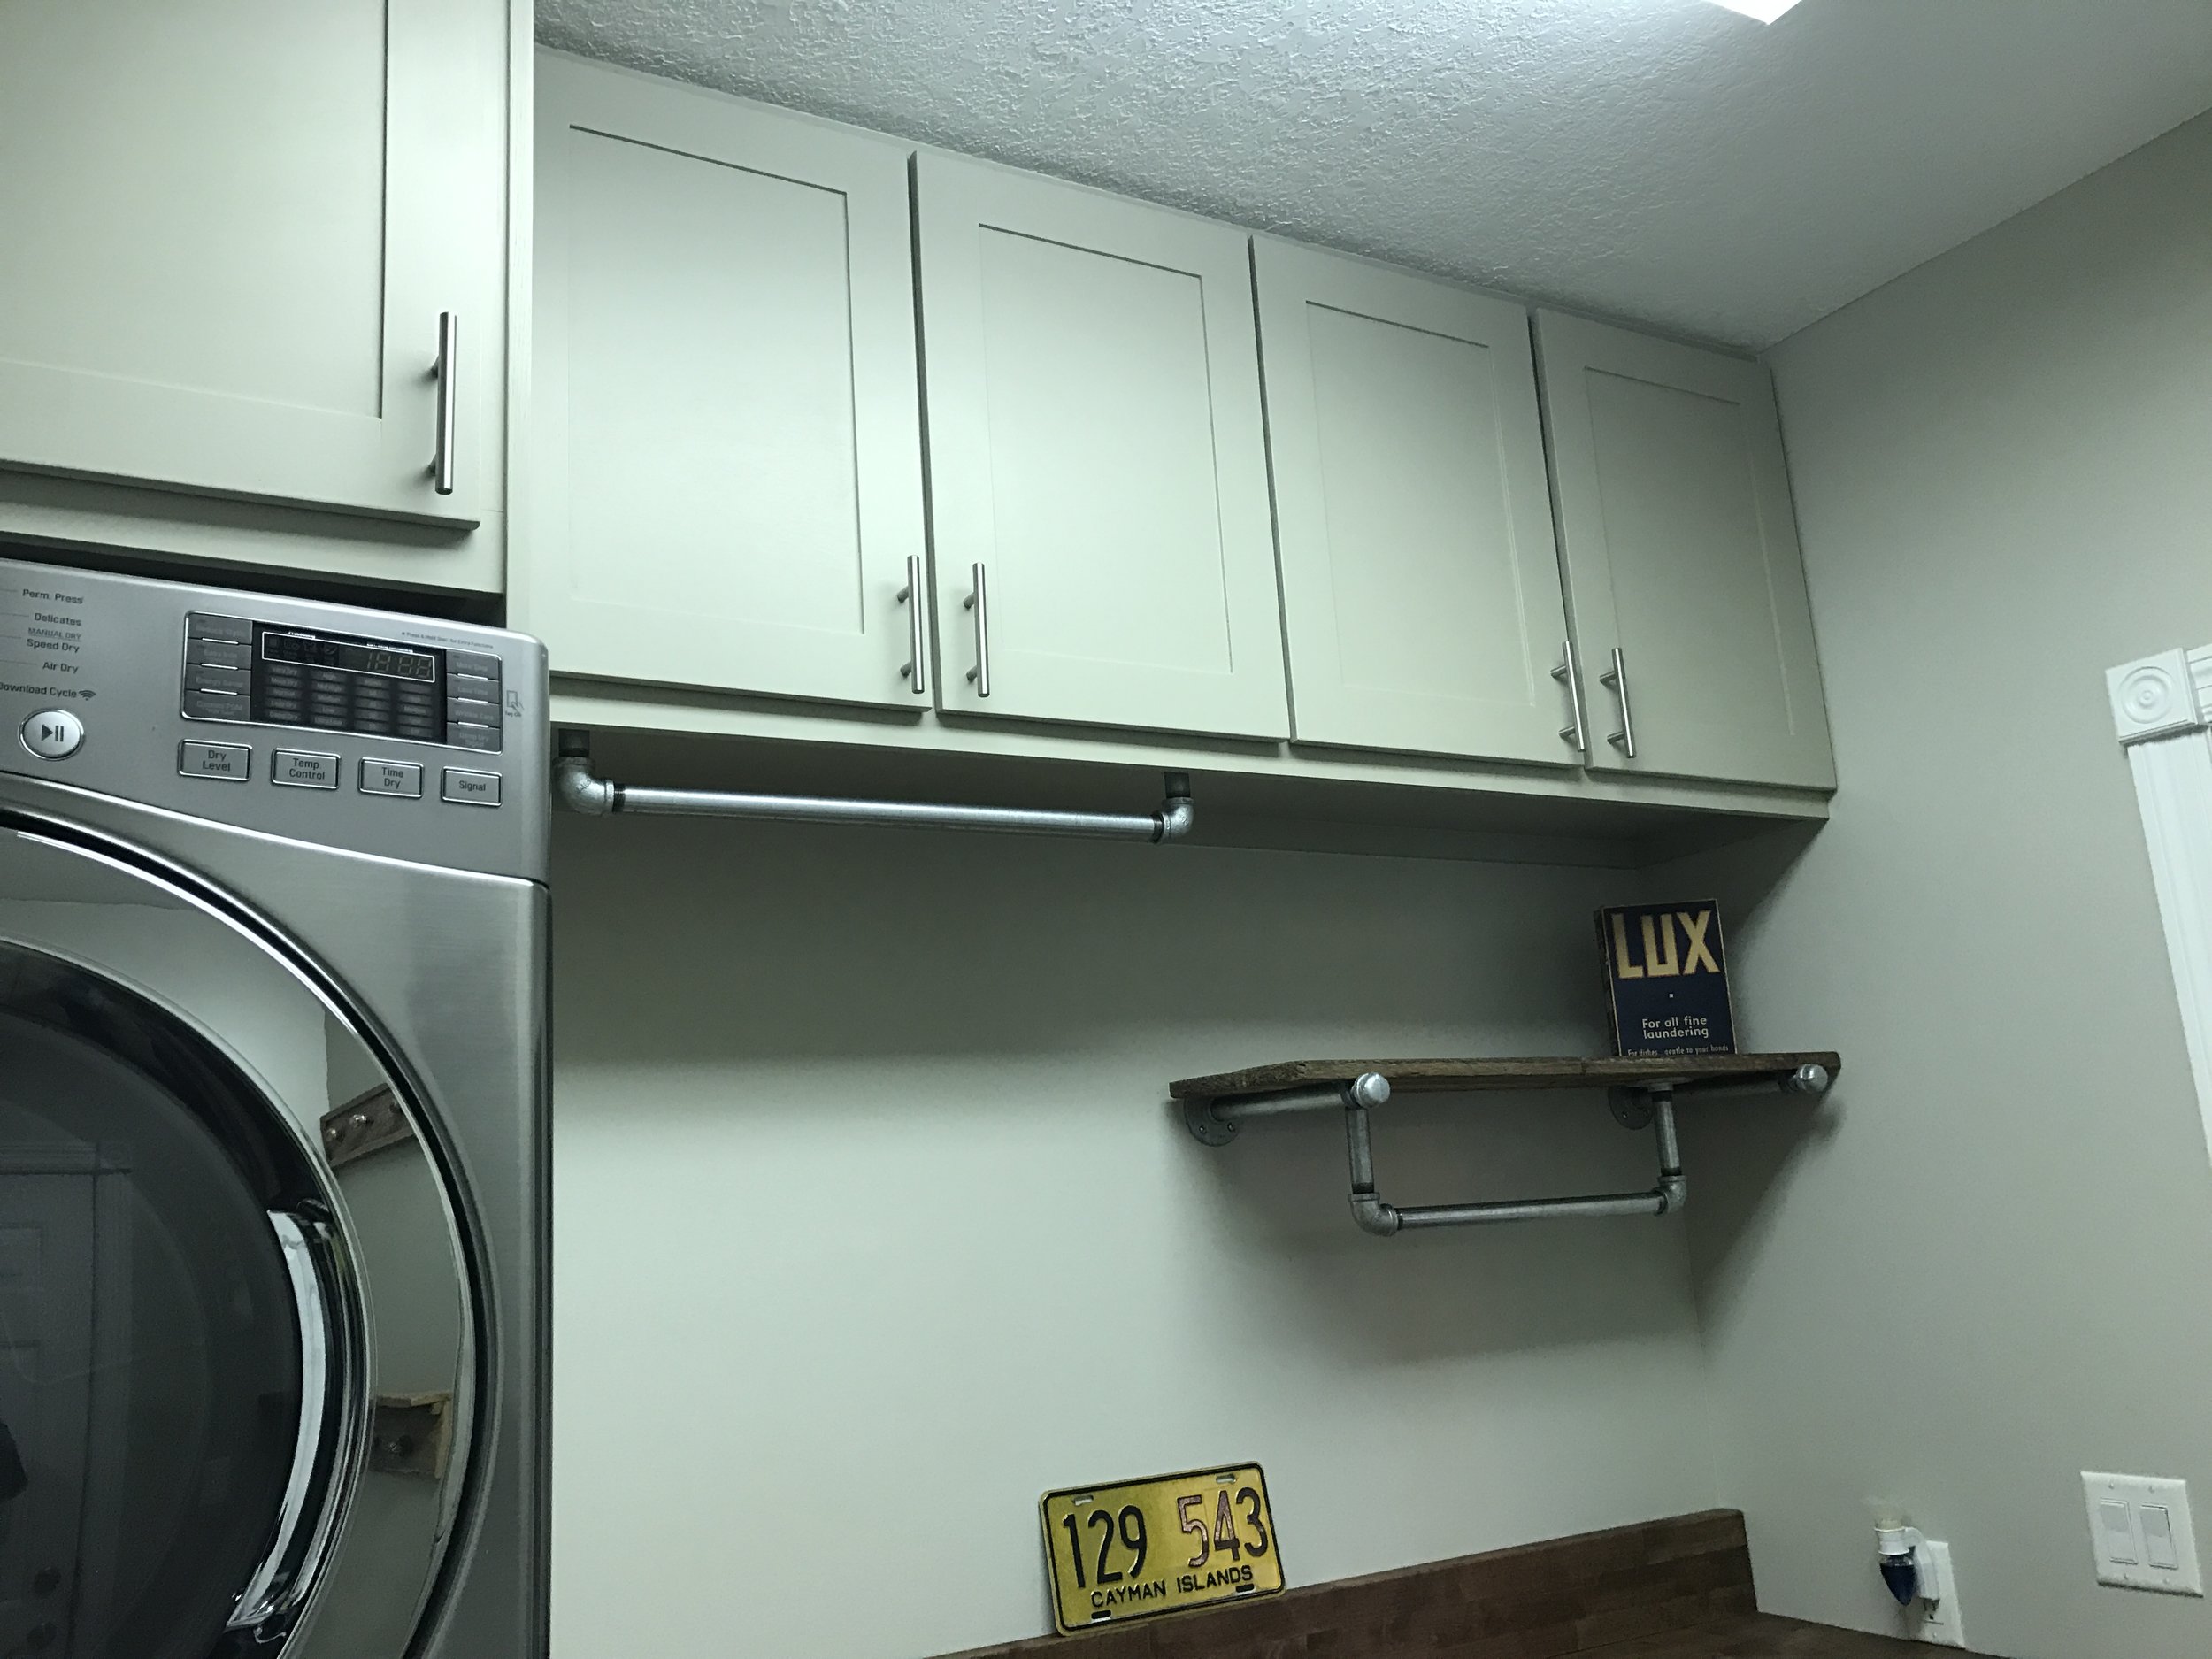
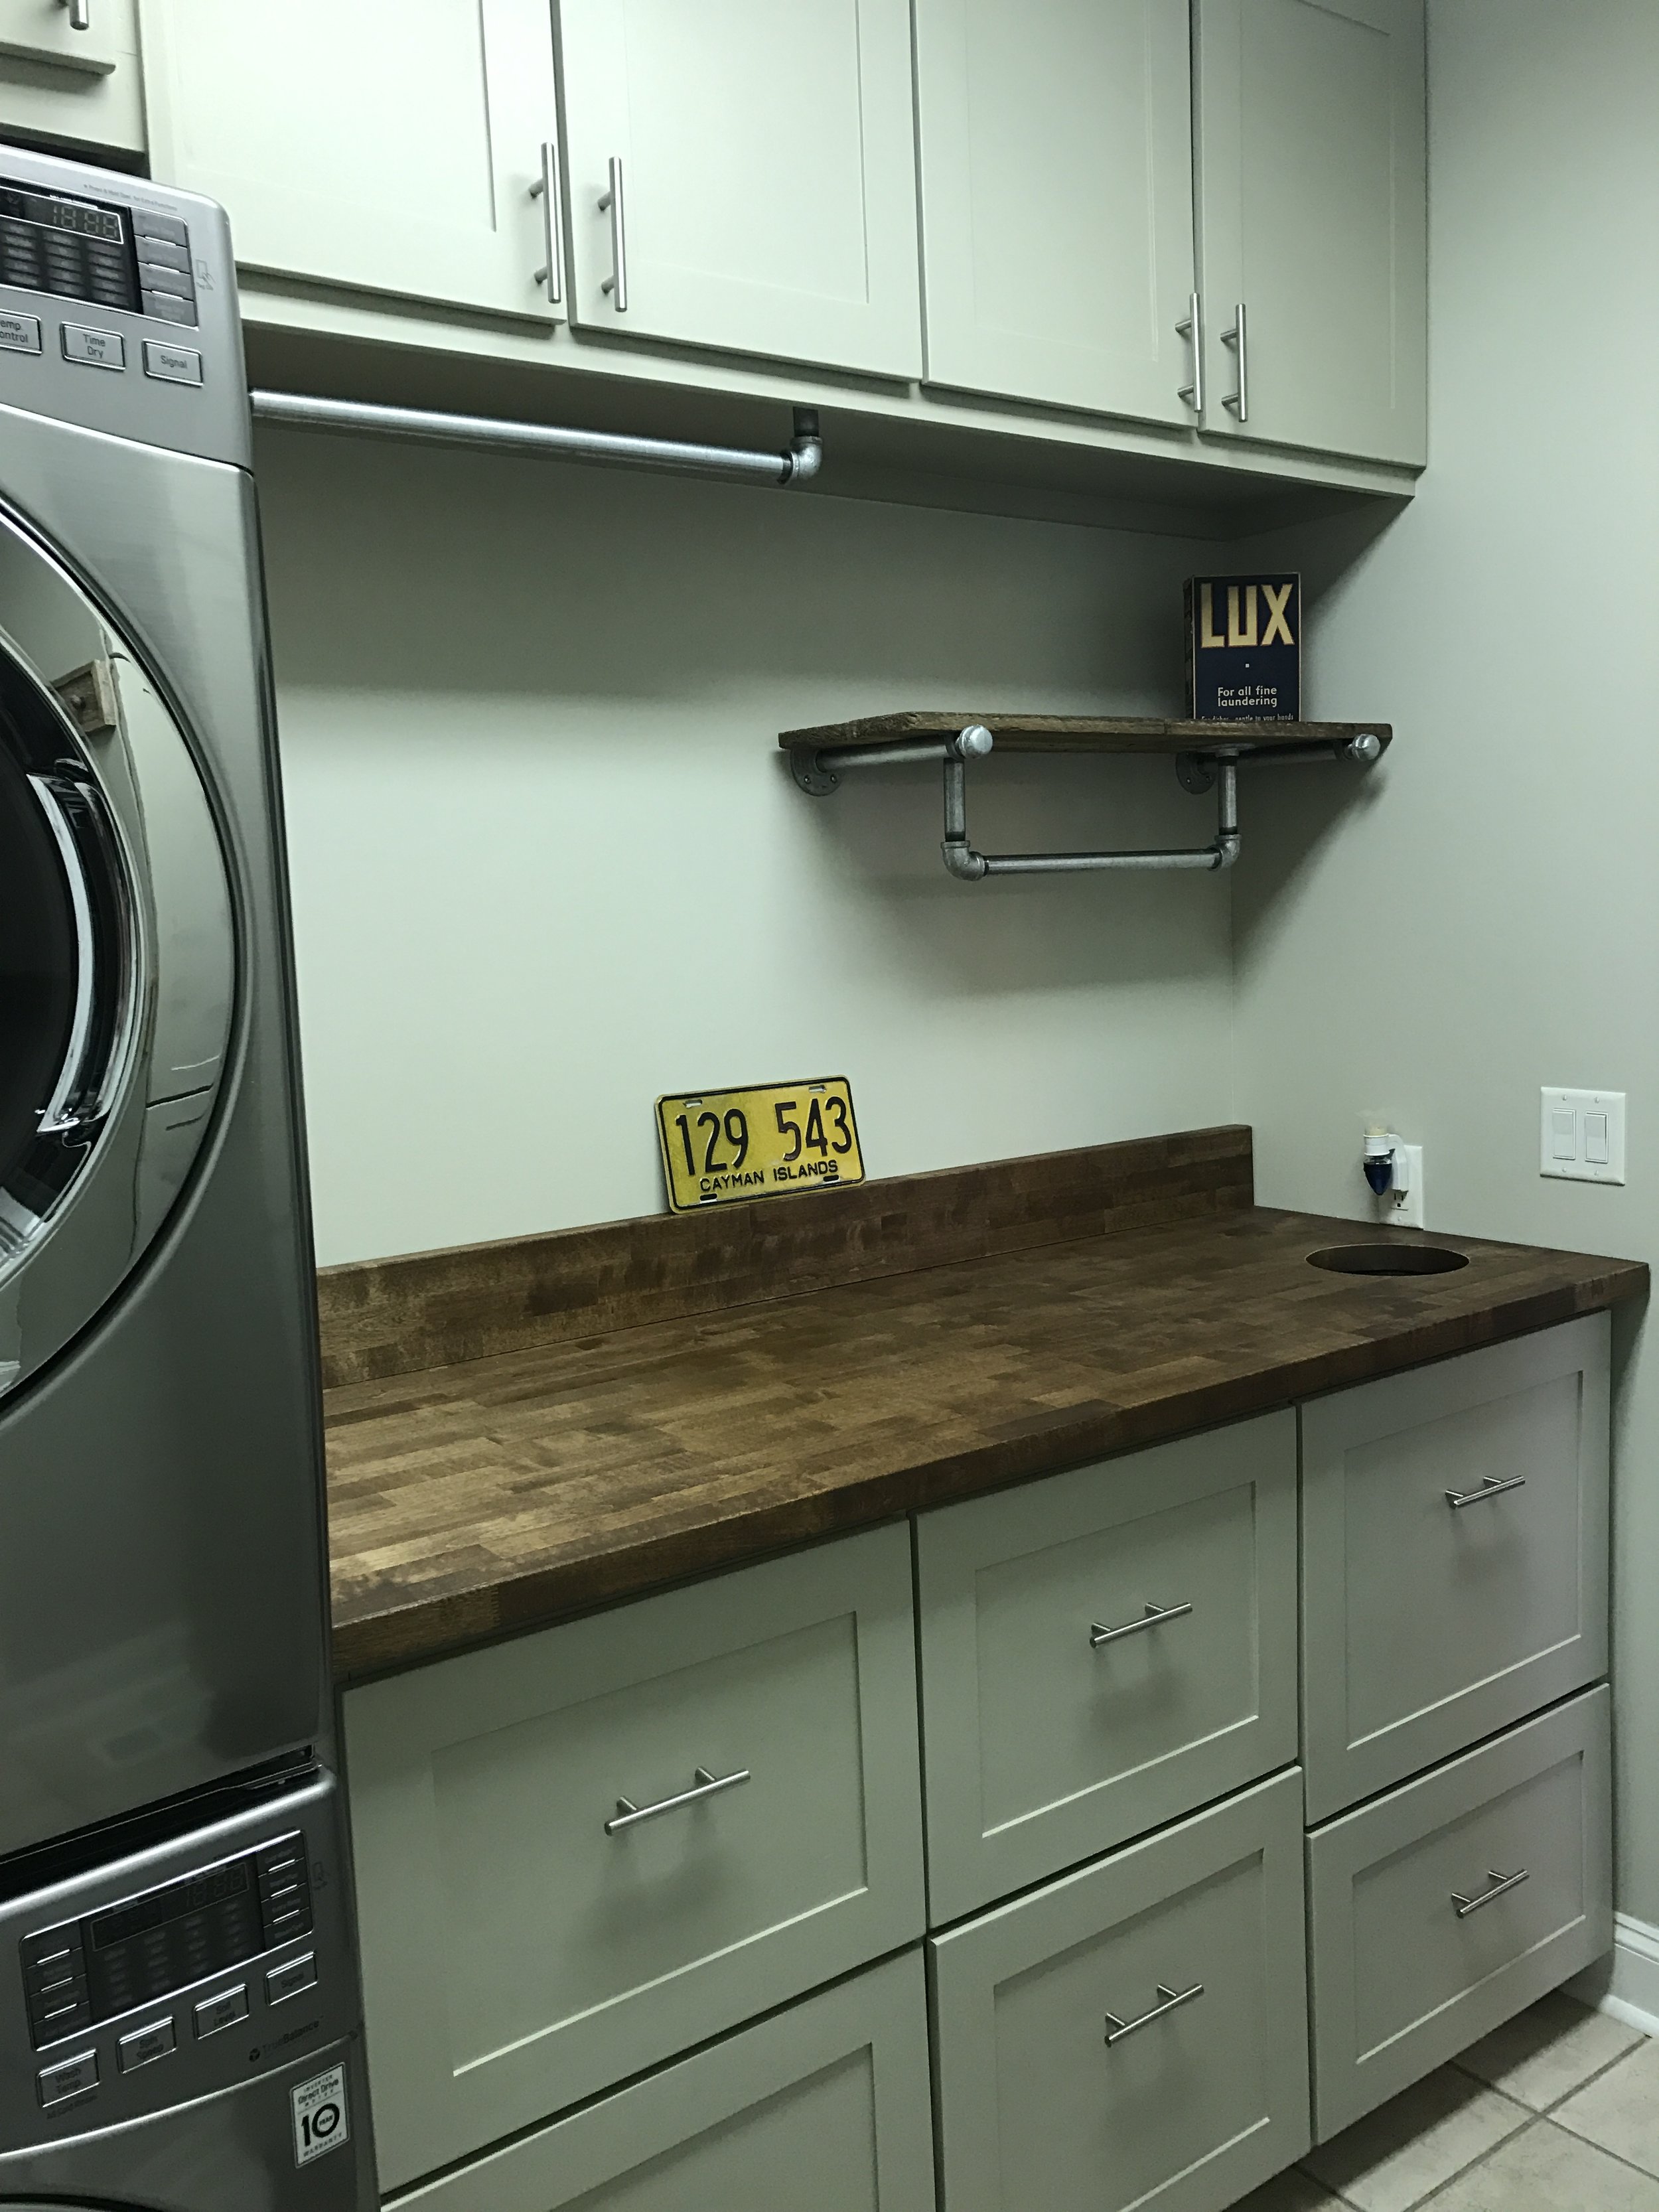
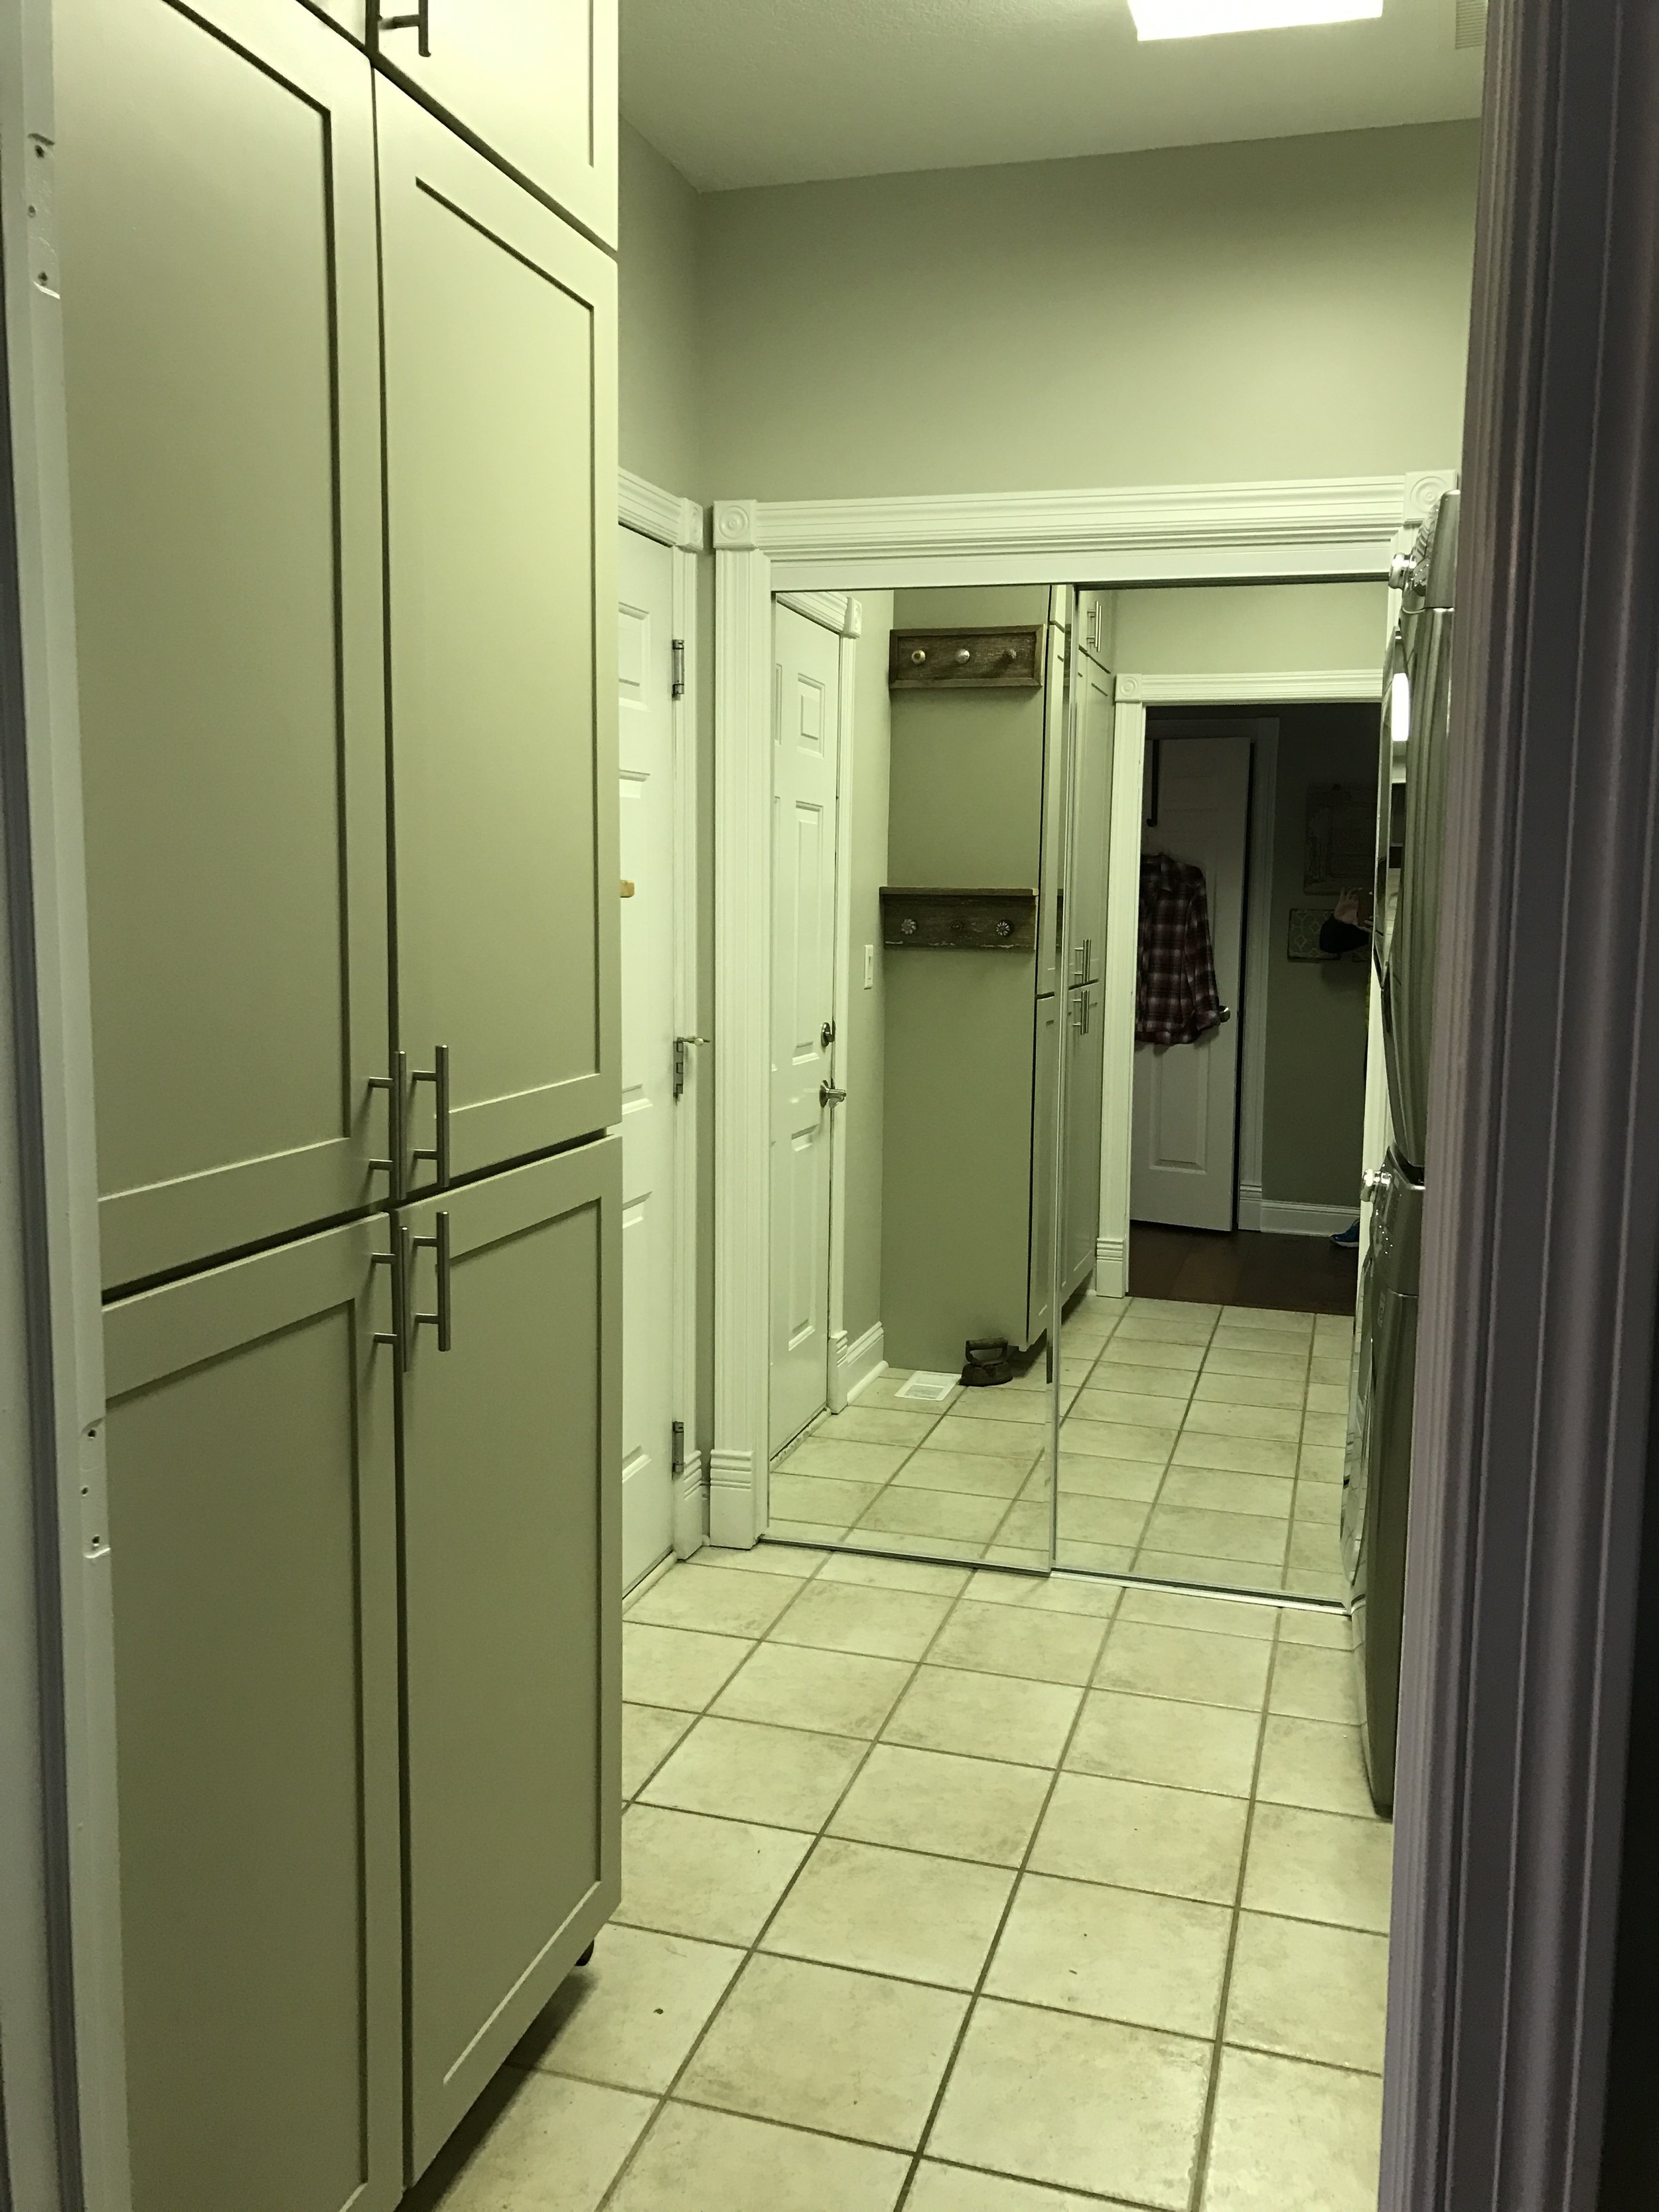
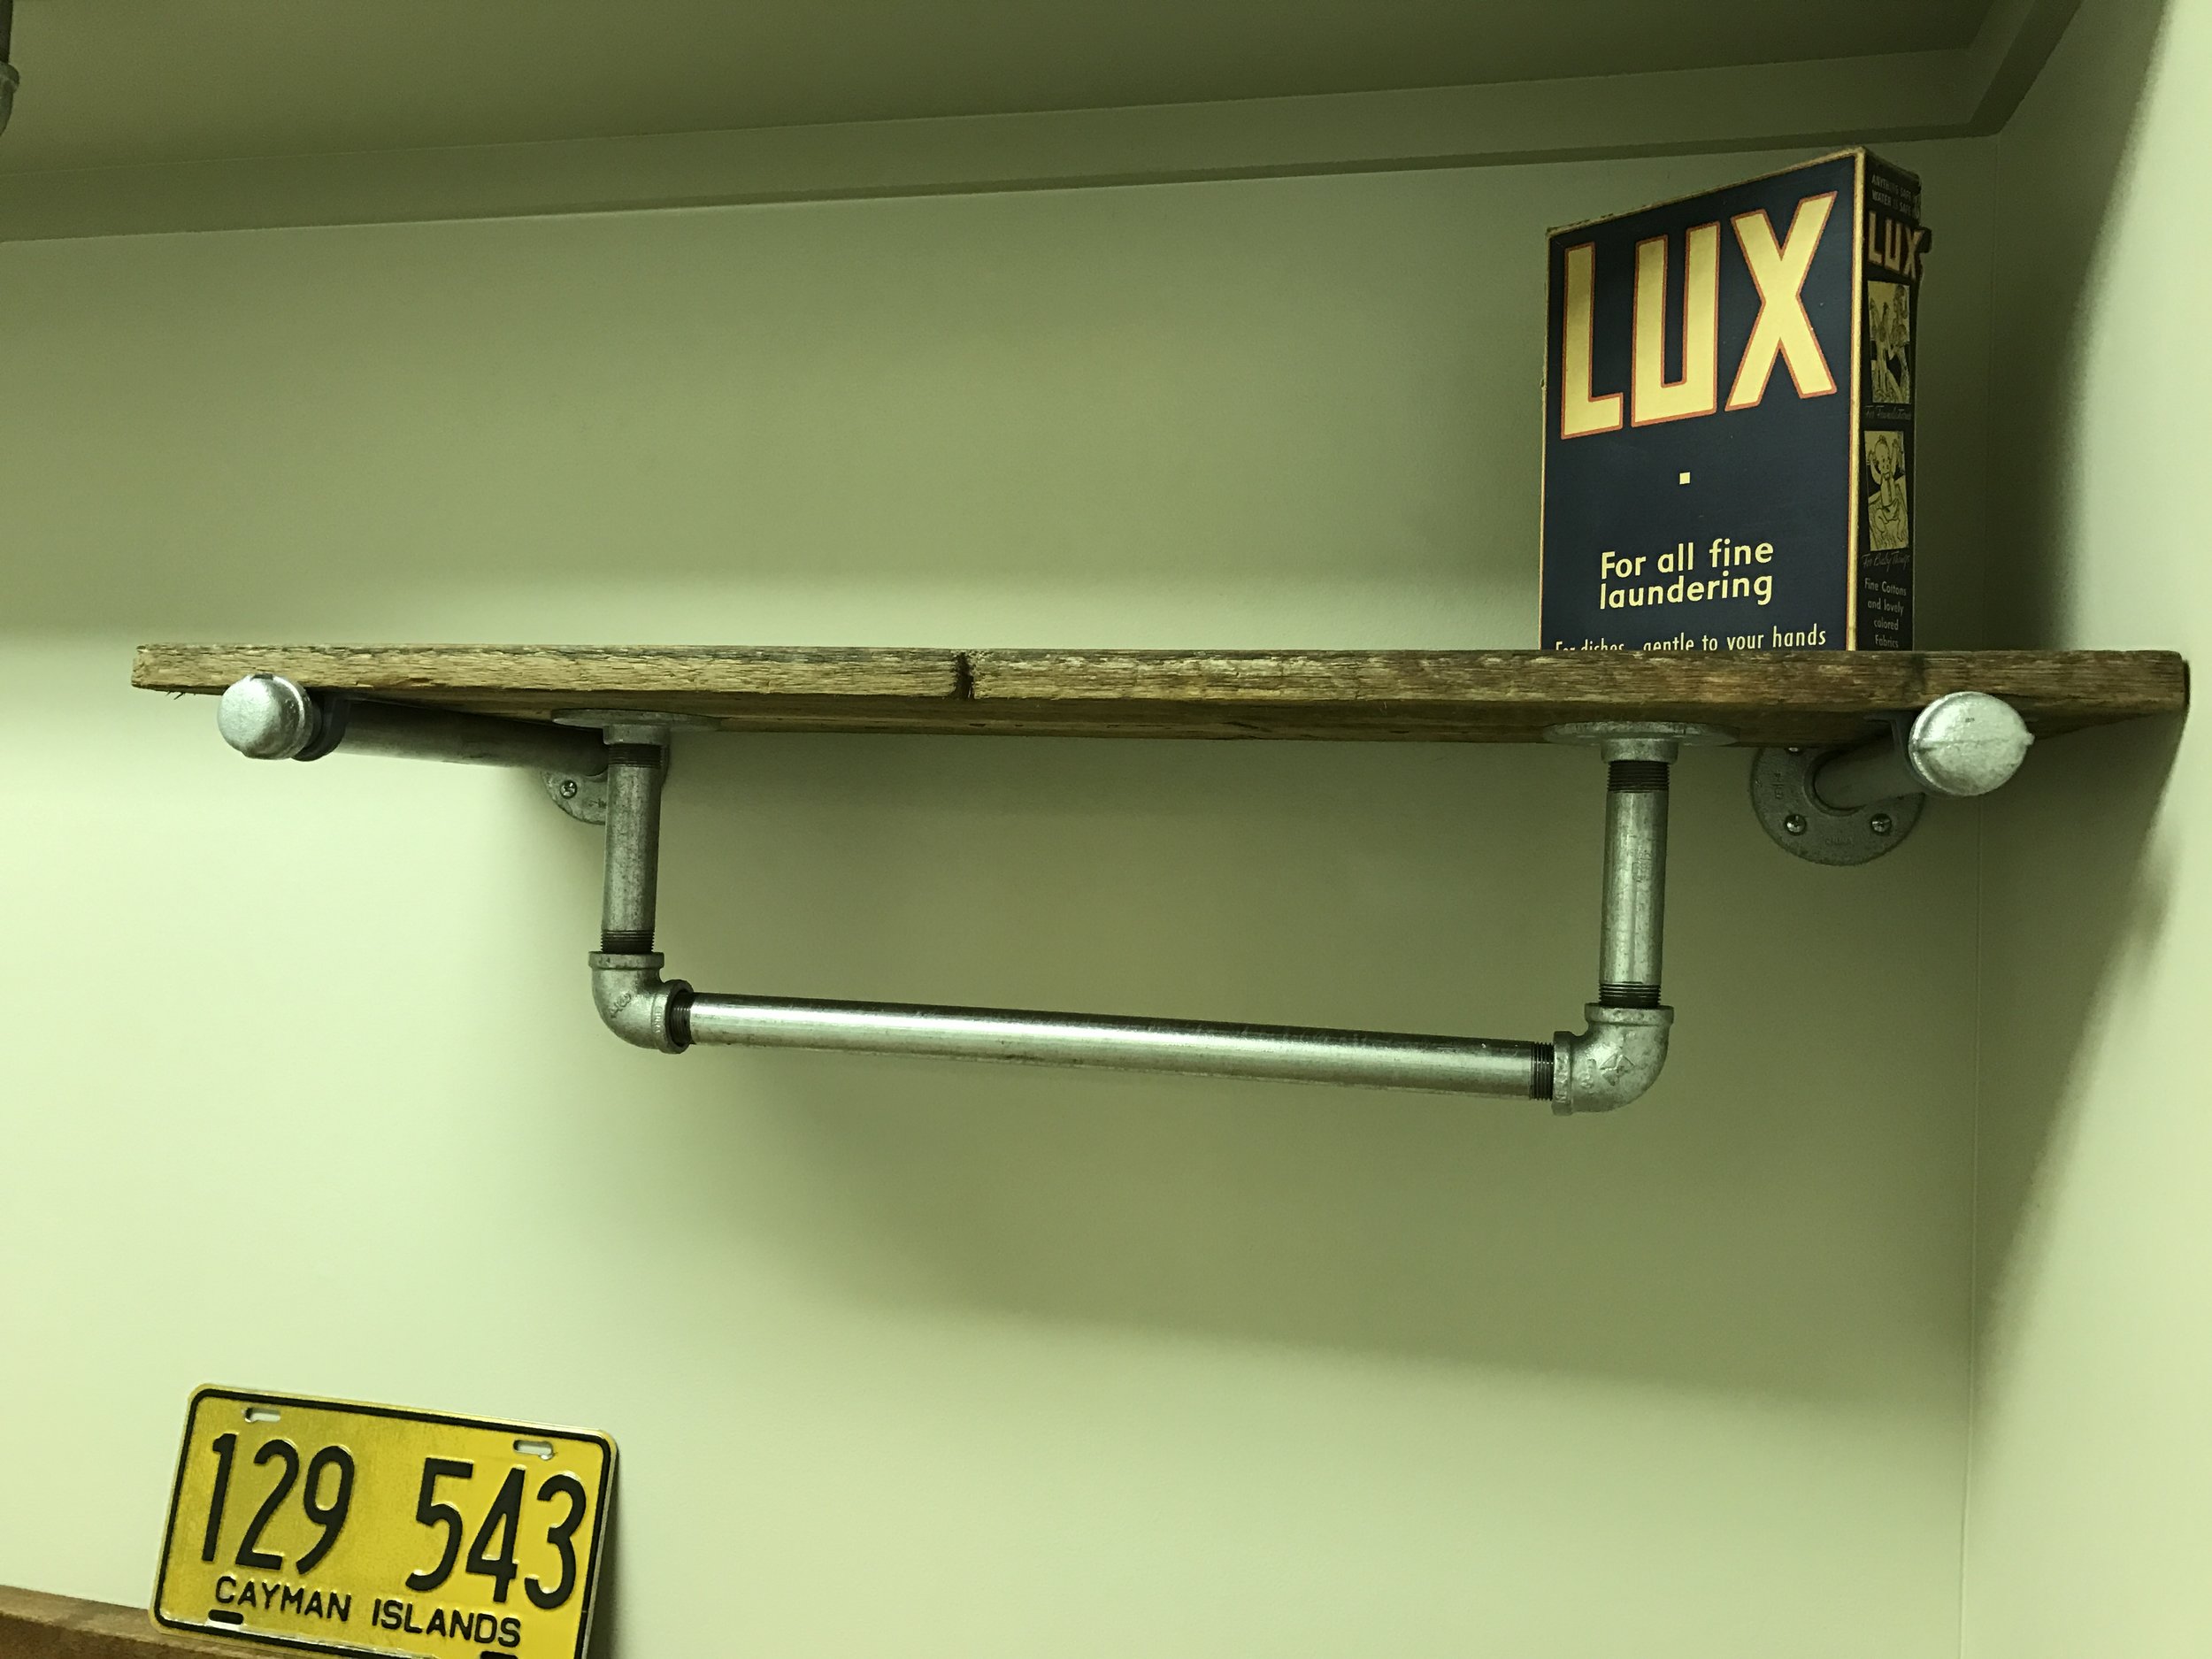
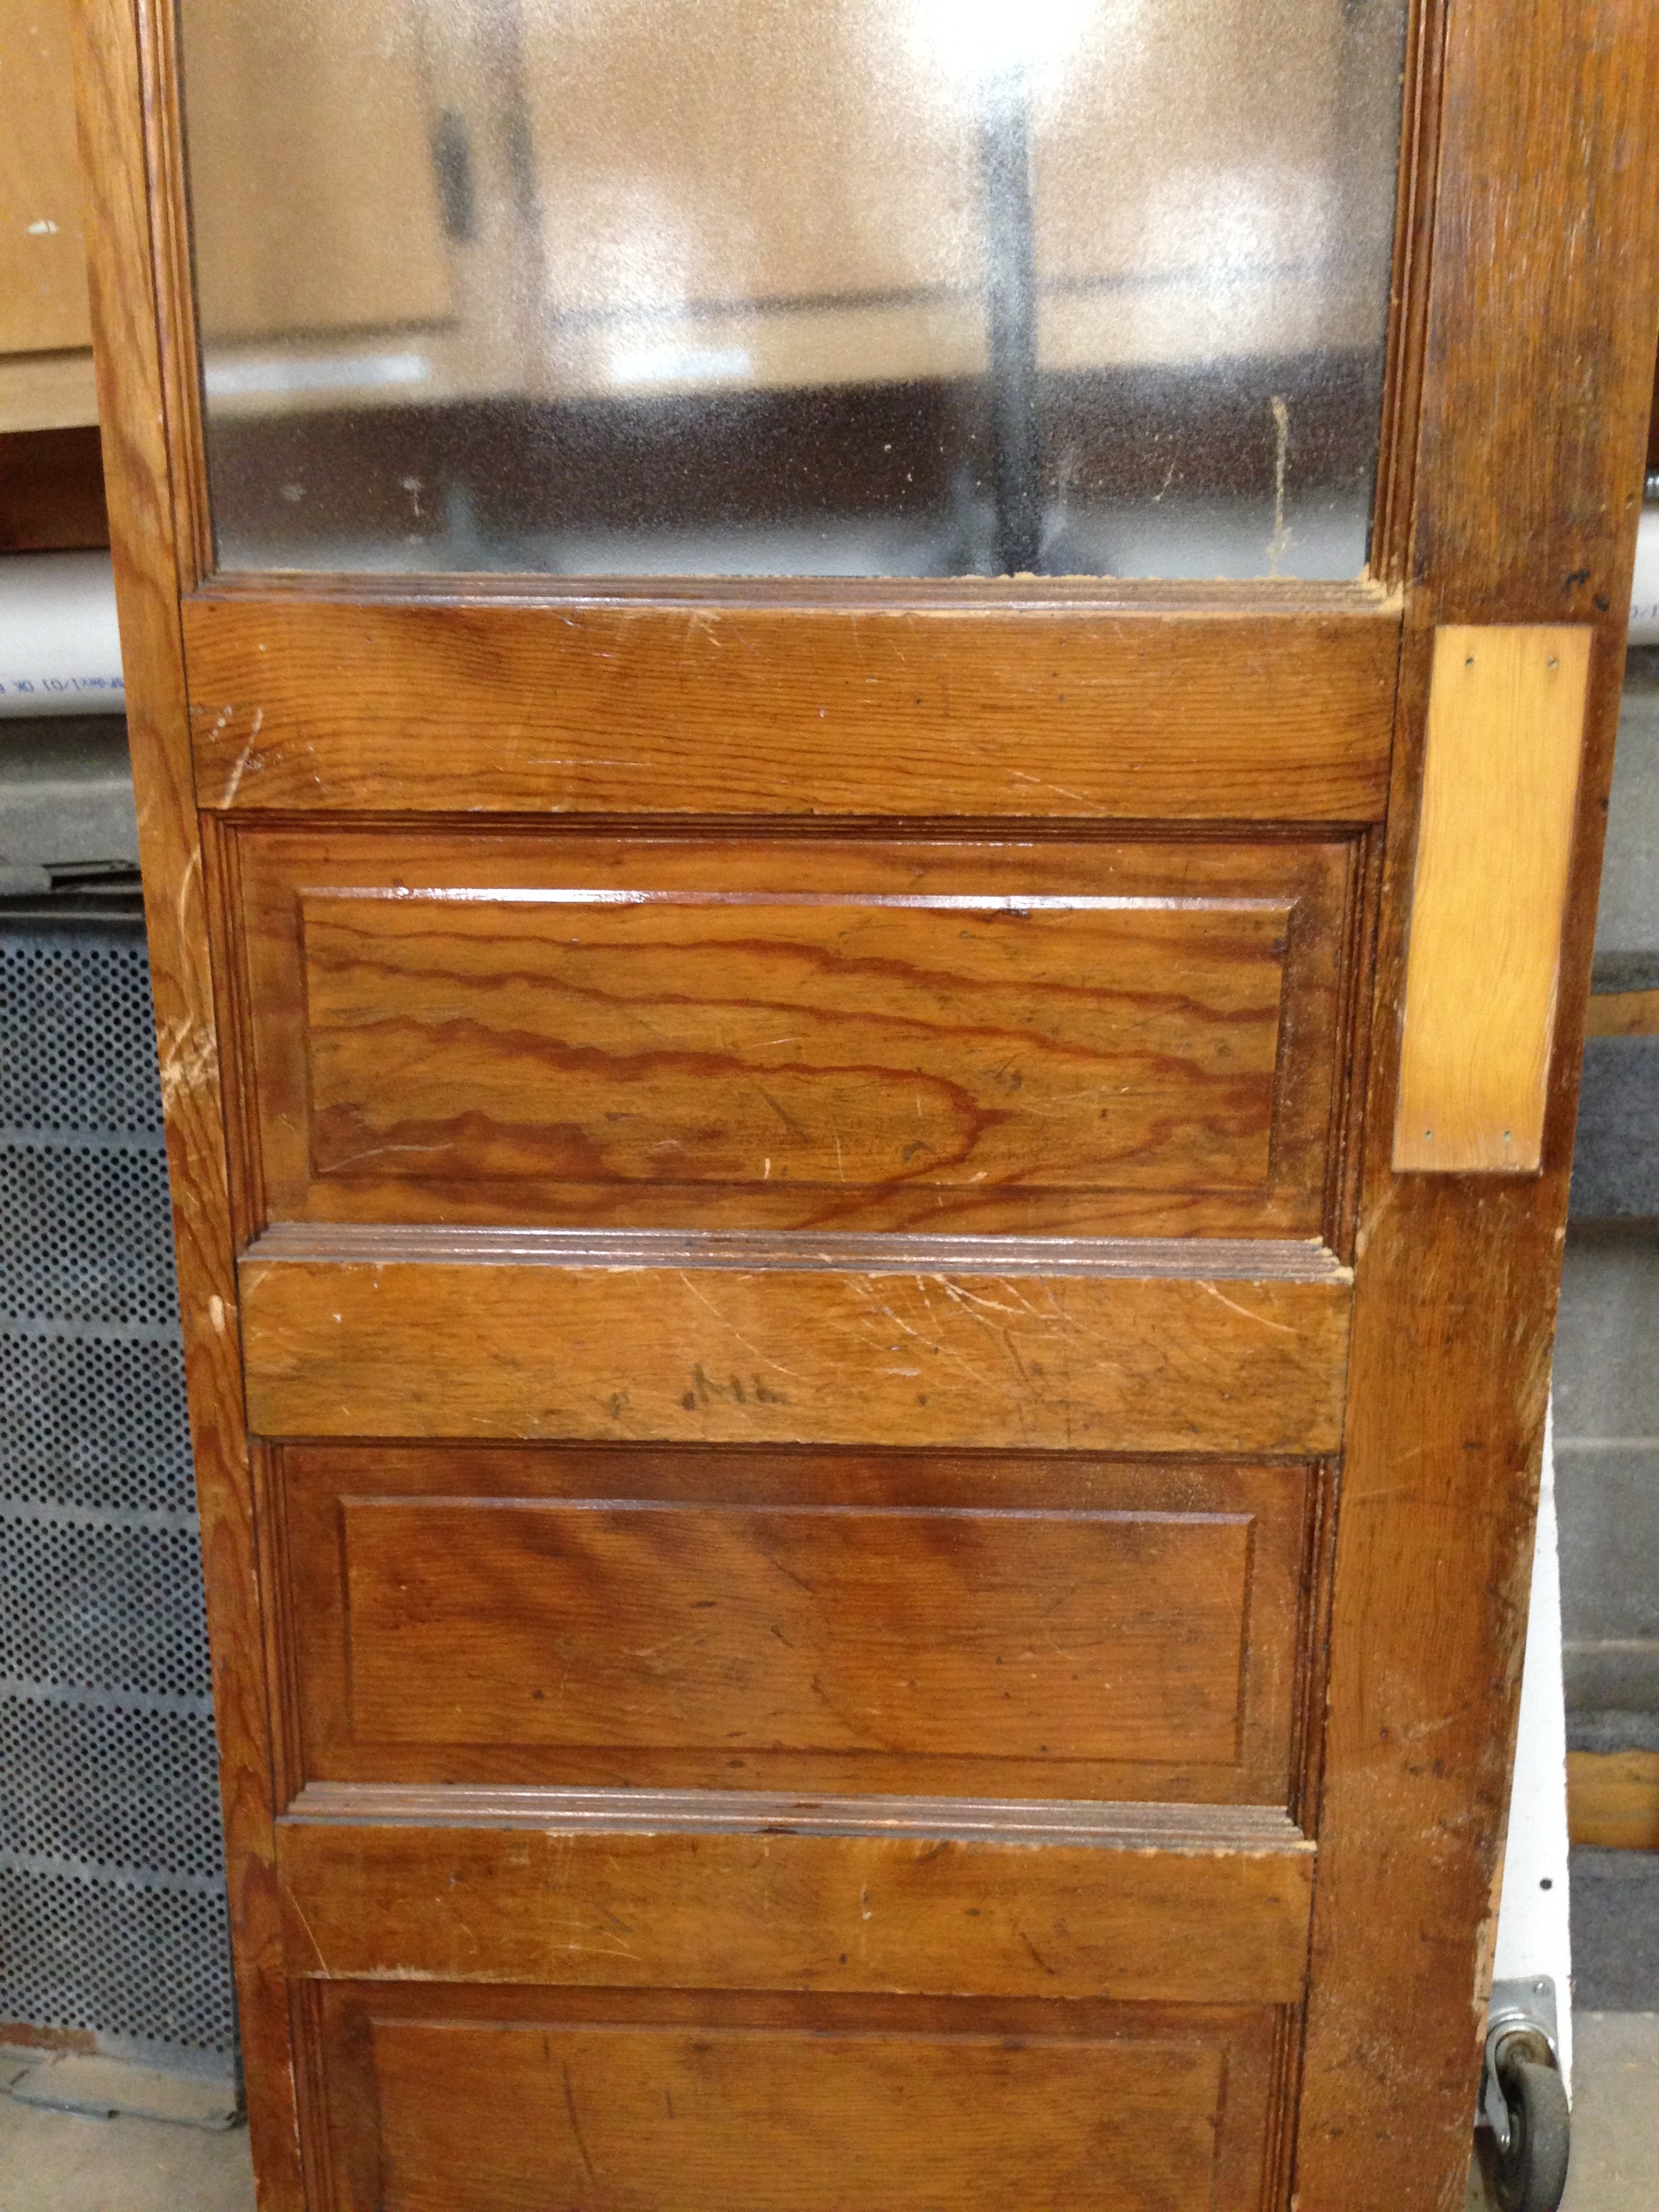
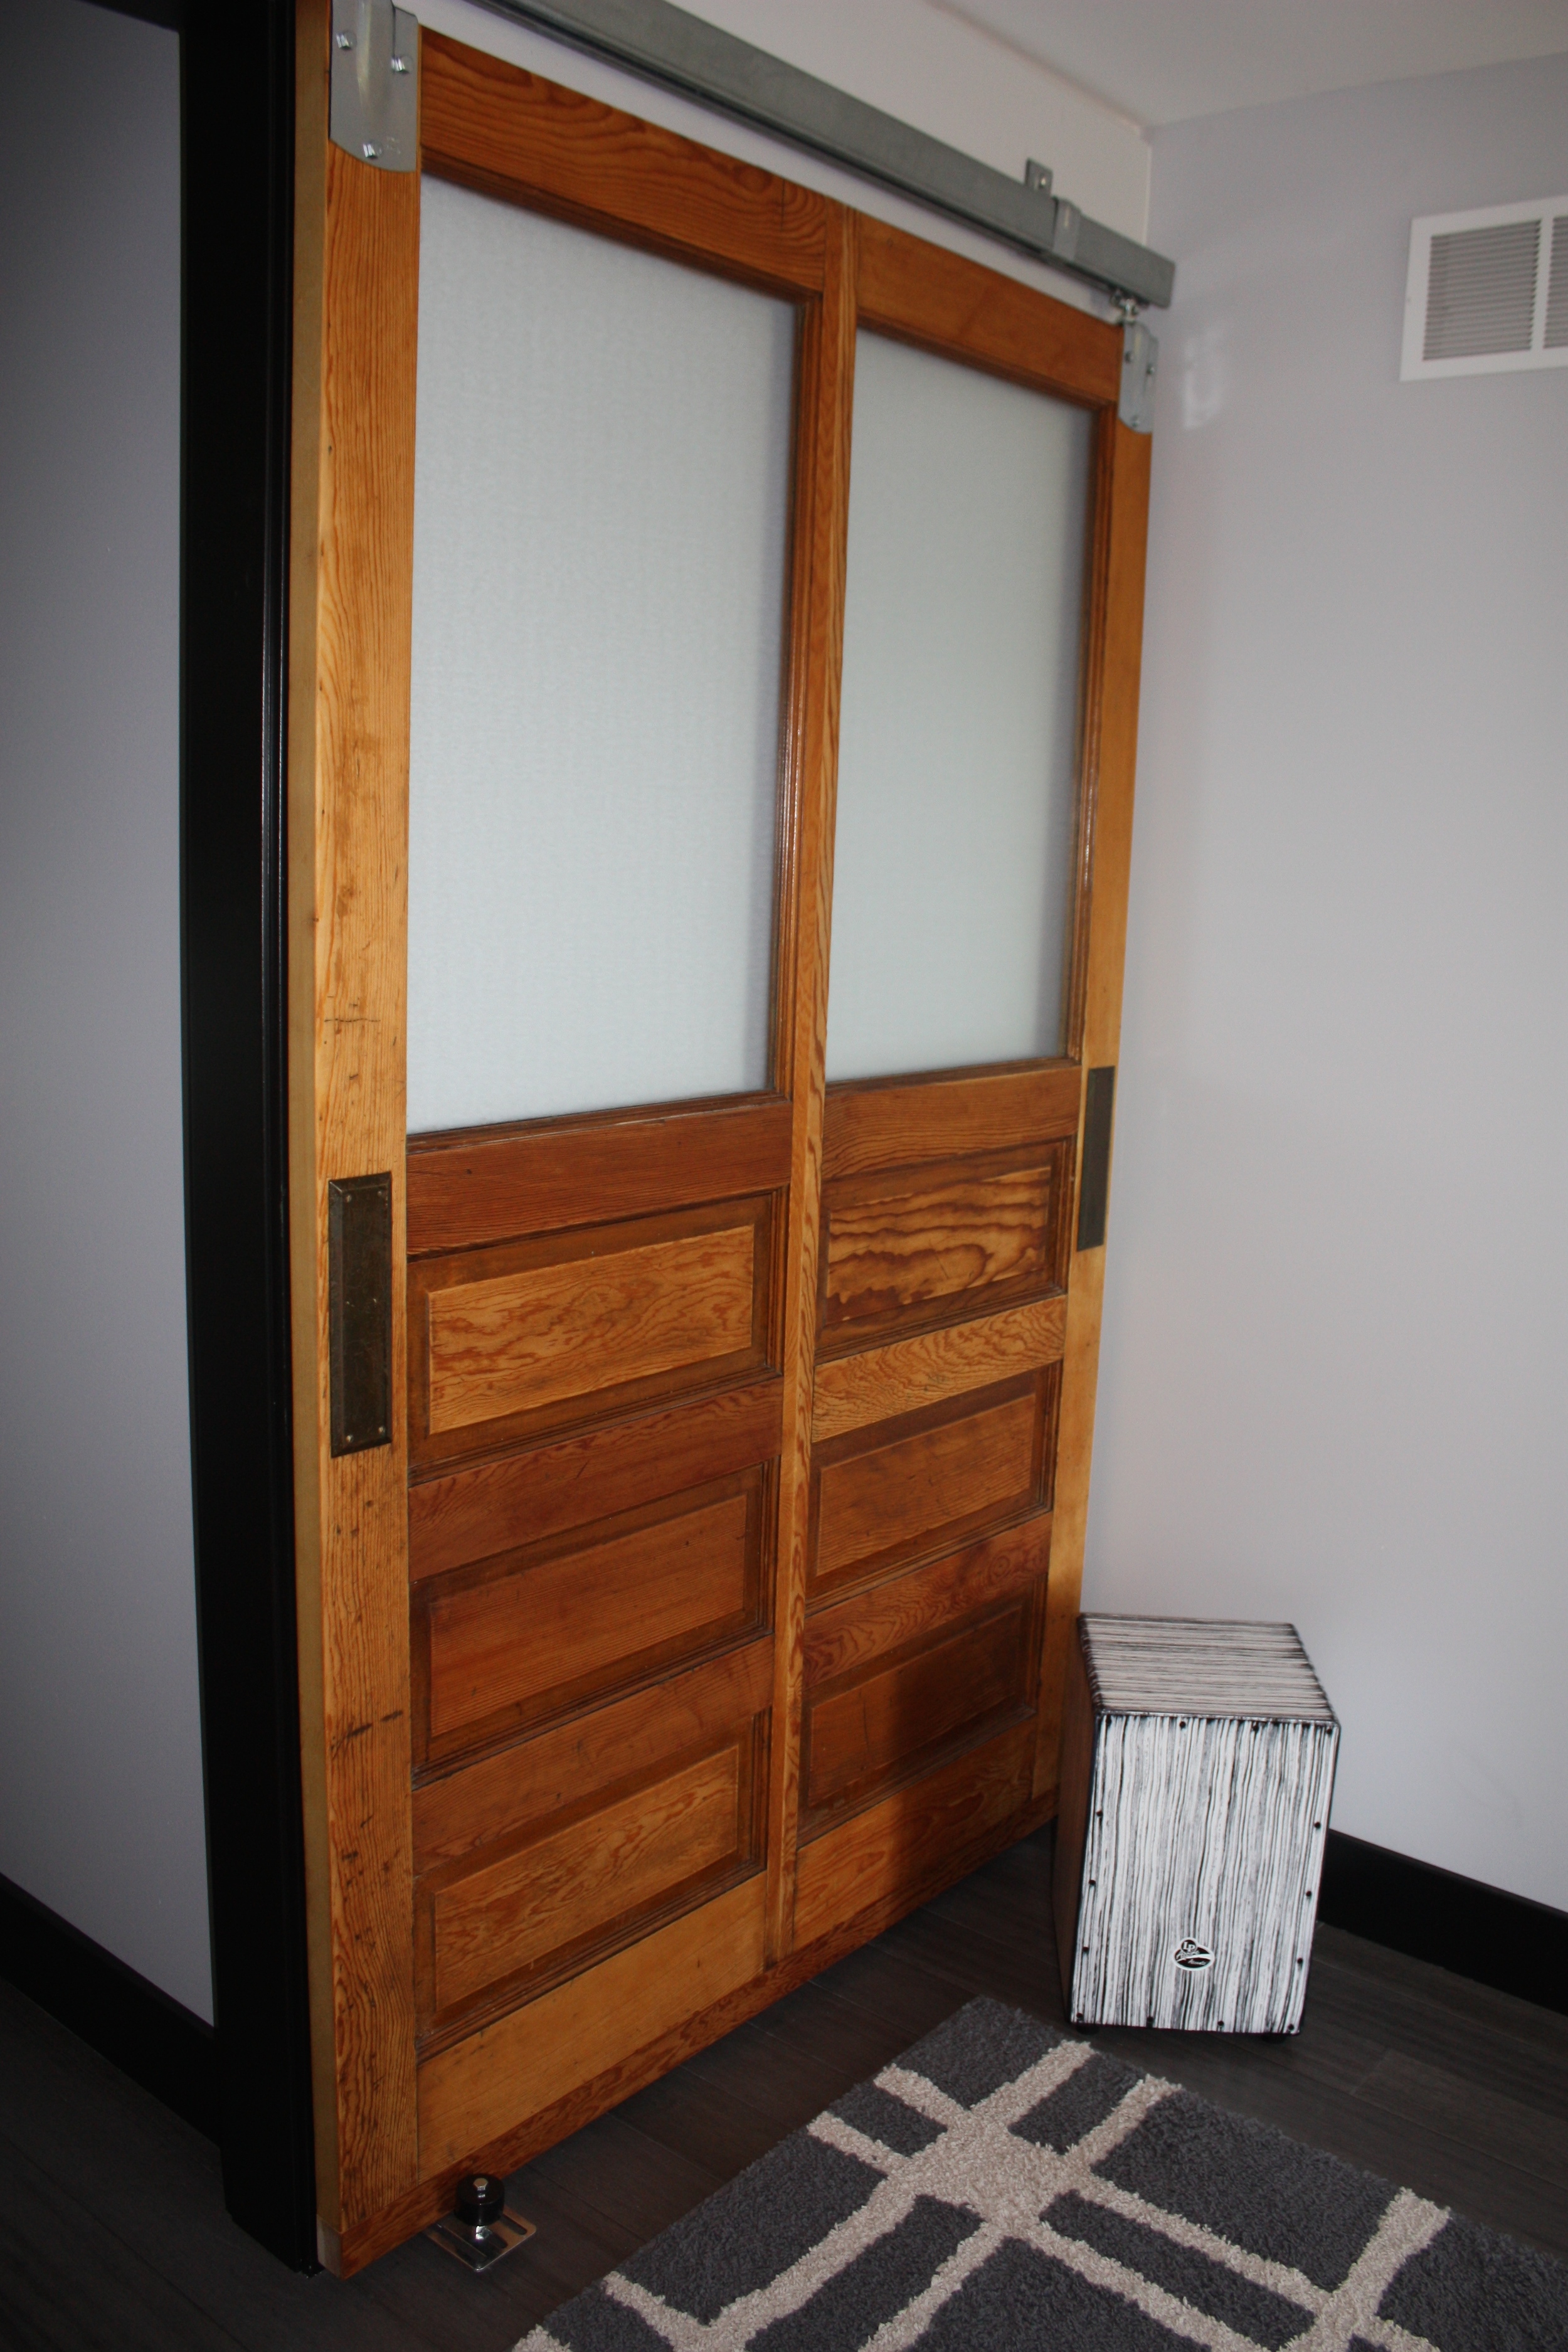
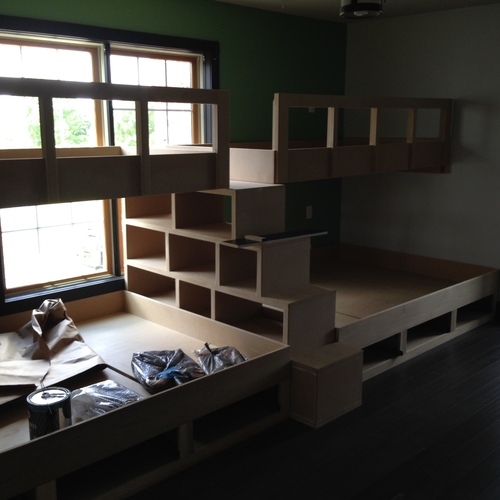
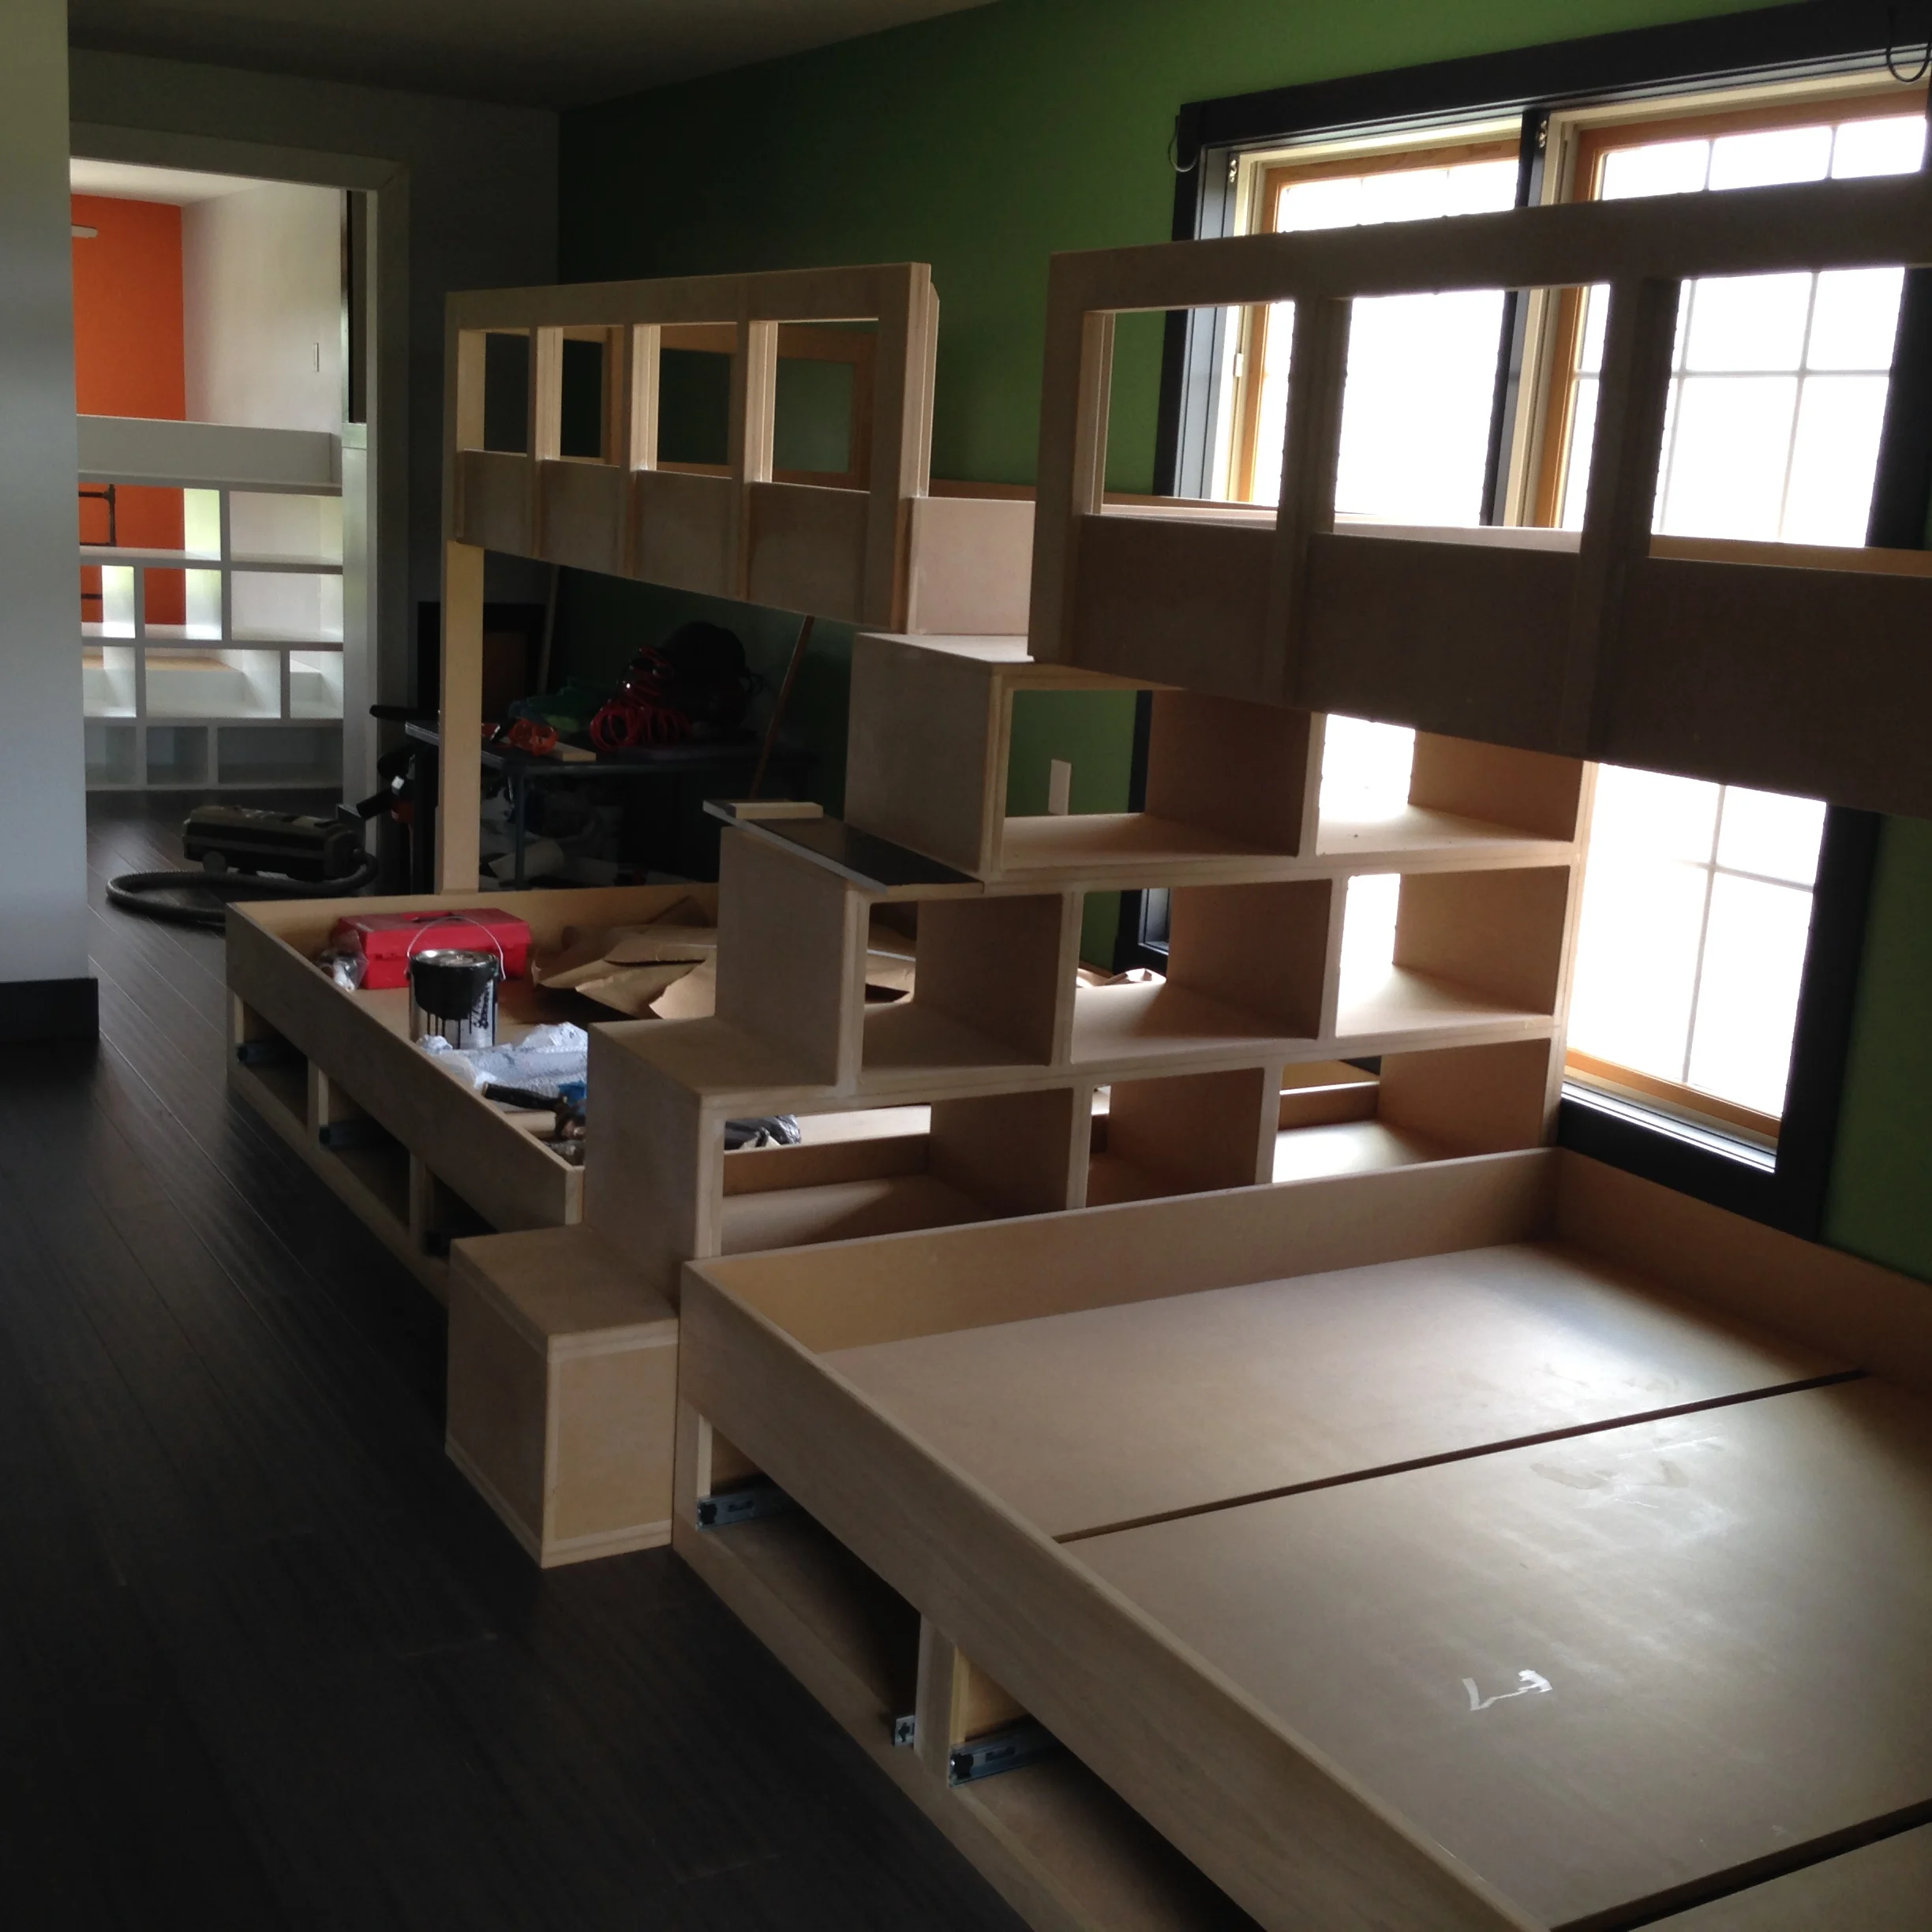
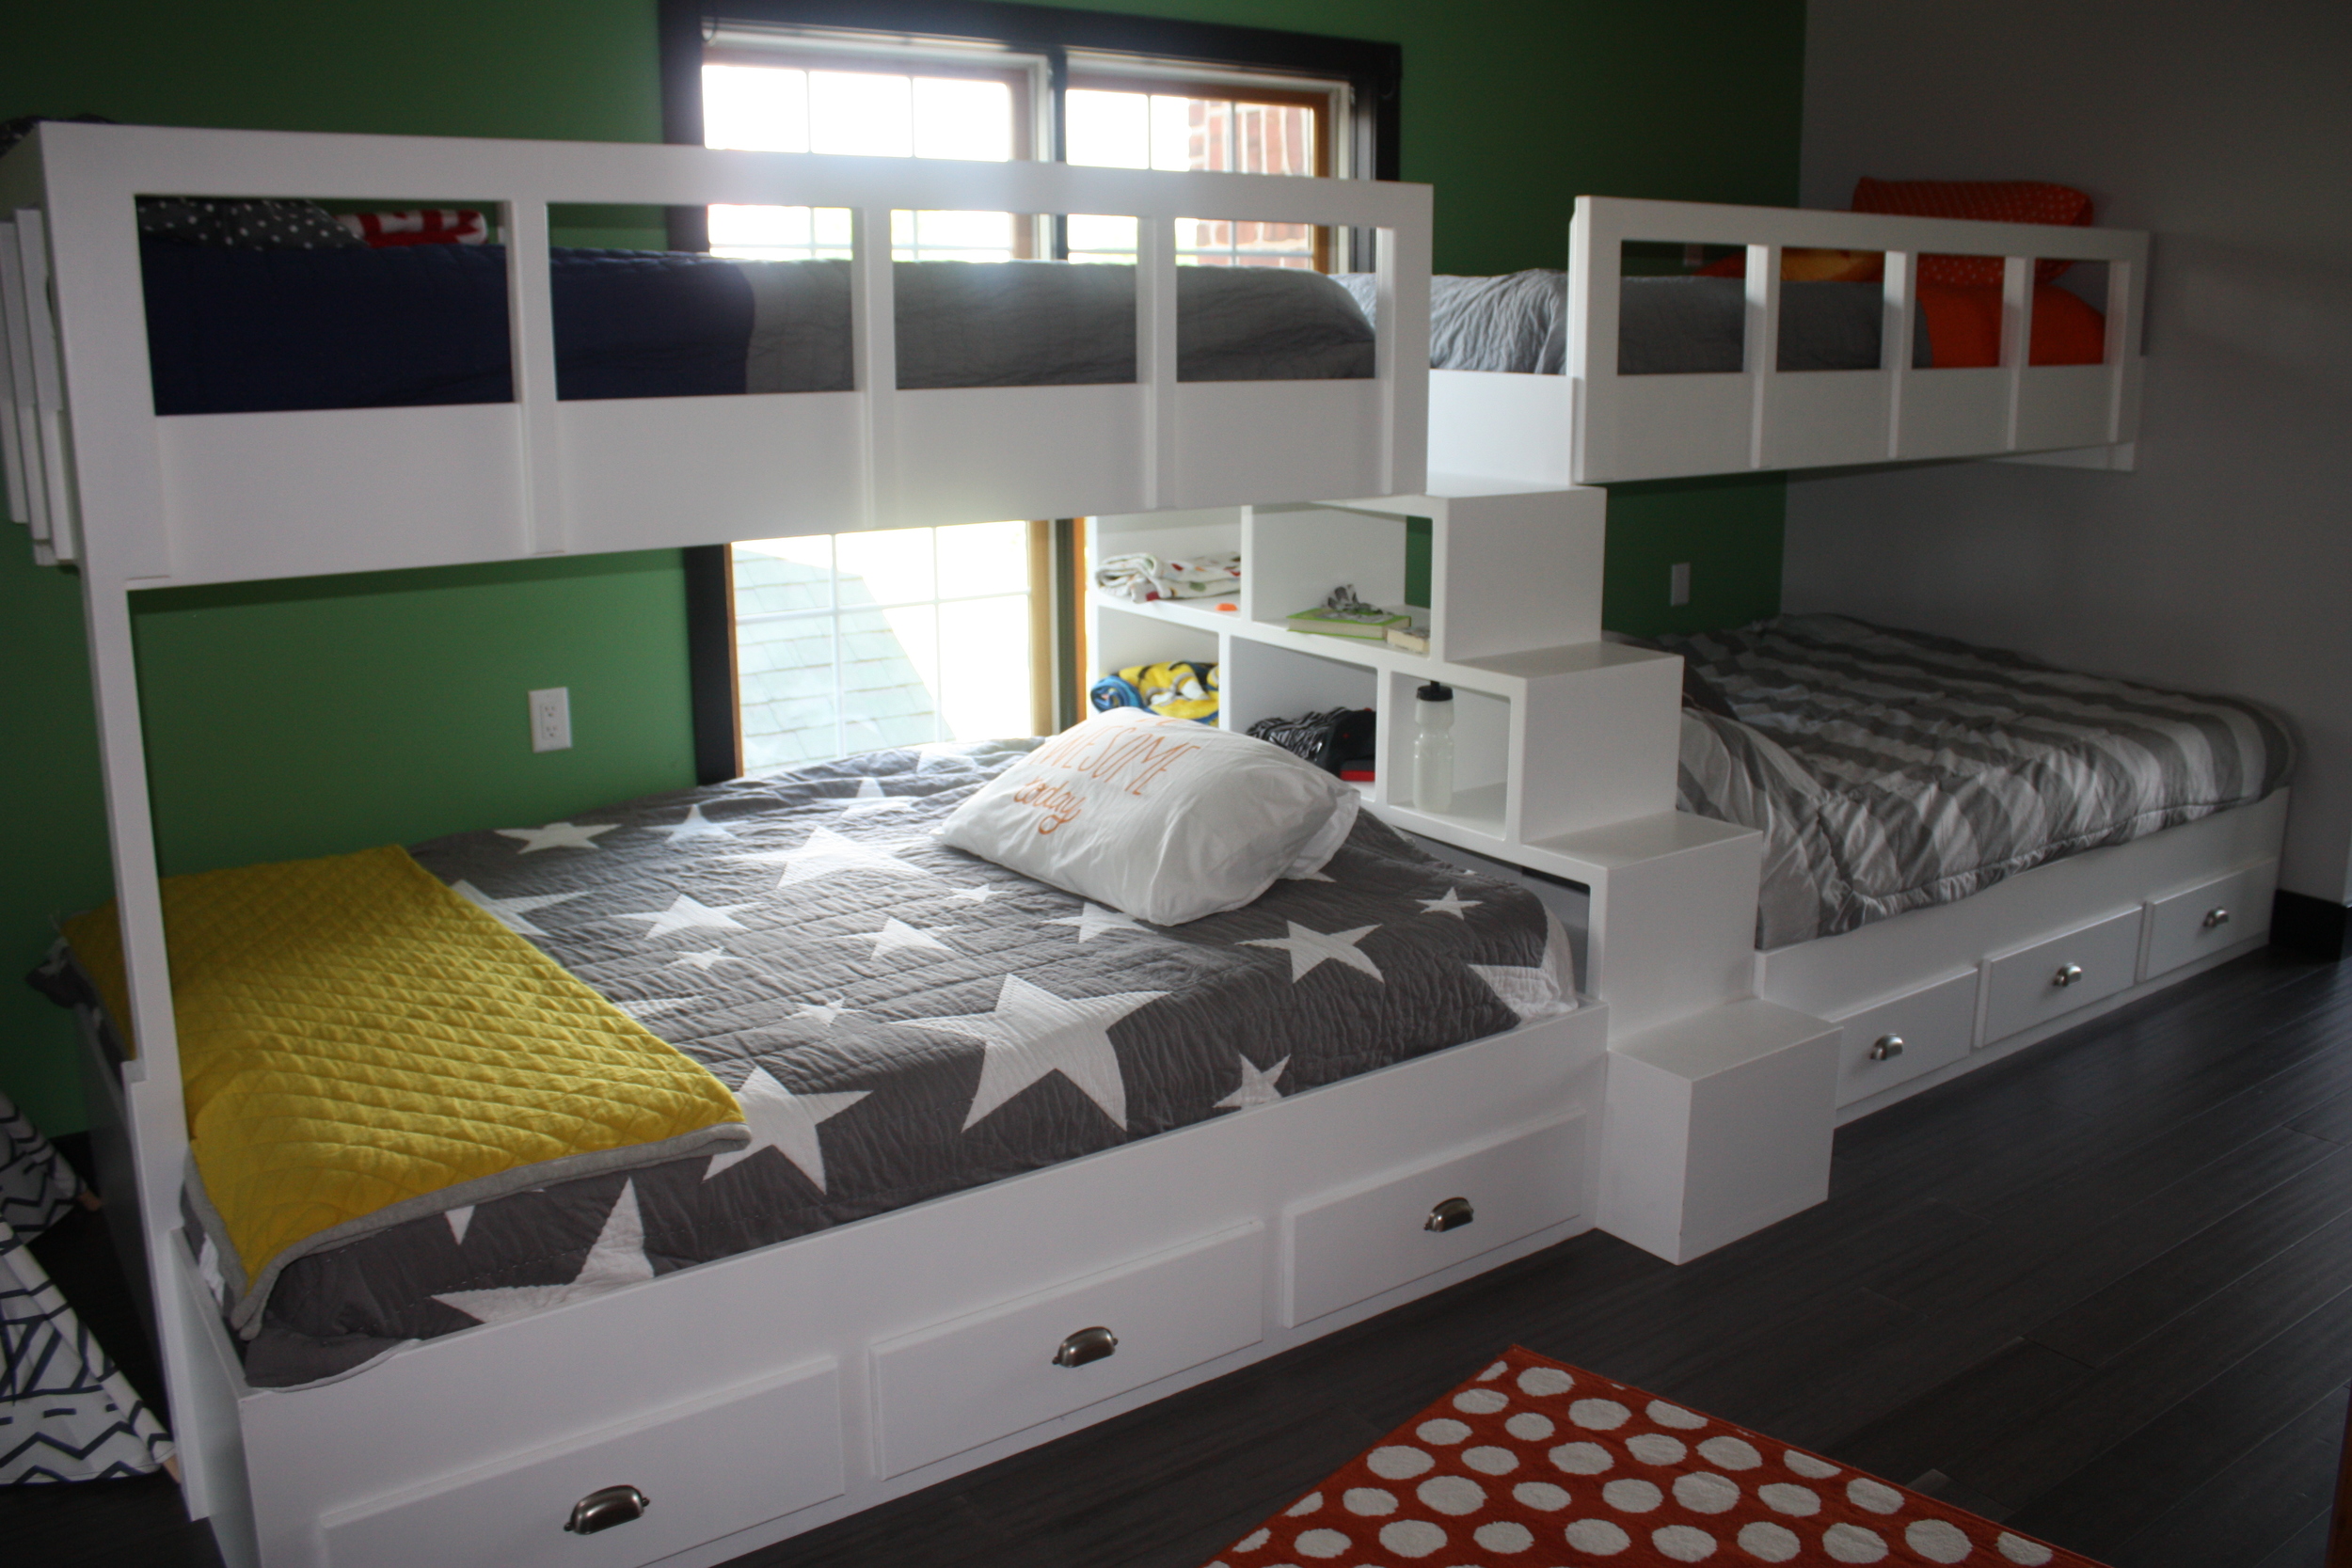
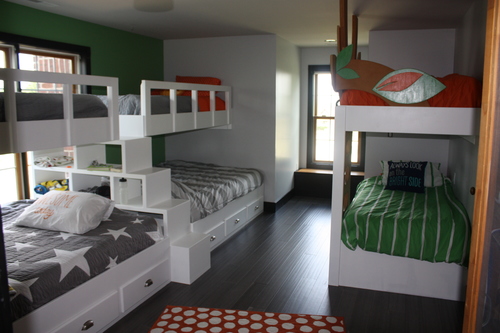
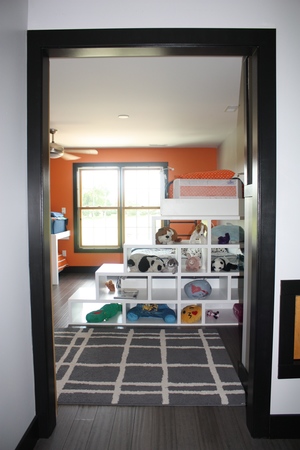
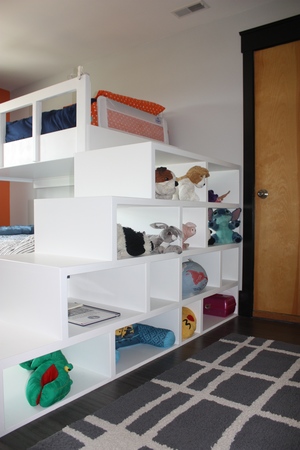
Alicia is a wife, mom, designer and artist. She has really been a designer and artist her whole life. She gained an appreciation for great craftsmanship from her father as a kid. She ended up going to art school and working as a graphic designer for several years. Now you can find her either in her workshop getting covered in sawdust or collaborating with a client on how to enhance their space where they live, work or play. You can find Alicia on Instagram (@basilbluedesigns) and her Website (www.basilblue.com).

Listen on Apple Podcasts: https://podcasts.apple.com/us/podcast/wonder-women-podcast/id1439078355?i=1000511656259


SUMMER PATIO

My good friend, Jessica, started with your typical concrete slab driveway and chain link fence surrounding her yard. She loves gardening and being outdoors and wanted a private relaxed inviting space that would reflect her personality where family and friends could gather and enjoy evenings in the summertime. This space ended up with four distinct outdoor spaces... a living room, a dining room, a kitchen & garden work space and a fire pit for roasting marshmallows.

The first step was to remove the cracked asphalt and fence and gate. A new wide open stamped concrete patio area was poured.

Before Photos

In the video at the beginning and end of this story you will see the before, during and after images of the patio space and furniture. I built several pieces in this project and Jessica was generous enough to let me grab whatever I could find to recycle or upcycle from what was already lying around the house.

The pallet furniture includes: a couch, a chair & ottoman (both on on castors), a love seat (which can be used as two separate chairs), two log end tables and a privacy pallet wall set up behind the outdoor sink as a gardening and grilling station. All of the large wood seating is framed with pressure treated lumber to ensure that it will stand the test of time and weather and finished with pallet wood to give it a texturally rustic feel with a modern shape.

Building the furniture

The rectangle log end tables were cut from a log bench buried in a flower bed in the front yard. A little chain saw work and voila!

The blue steel chairs started out as empty frames that were pulled from a donation pile. I built the seats and table top from a salvaged stack of barn wood scraps that I had saved in my wood shop. You never know what you can make from those colorful scraps! I love to keep them around, but finally had a reason to use them up.

We salvaged enough lumber and corrugated steel from the garage attic to build a surround to house the garbage cans and a make a rolling bar. The bar is built on castor wheels to easily roll to wherever it is needed to keep food and drinks high above those counter surfing pets (with access to storage on one side) or hold a TV for a backyard outdoor movie night.

The wood rack and back door bench were also made from scrap bricks, pipes and wood that we drug out of the garage and basement. The large trunk was from a local antique shop, and set up as a coffee table. We added locking castors to make it easy to rearrange and it opens to store cushions when needed.

Everything was finished or stained with Thompsons' Water Seal to help it last through tougher Iowa outdoor seasons.

The black steel pergola was added to give a separate outdoor shaded space in the heat of the summer and finished with commercial string lighting for softer light in the evenings. 

This patio project was completed the summer of 2016. Thank you to Harry & Johanna for all your elbow grease in getting the final touches done. Thank you Lori Drafahl for all your hard work on the video. I could never have set that up with out you! Also, a huge thank you to Jessica (and your green thumb) for all the beautiful flowers and for letting me loose to see what I could salvage and build to make this fun outdoor patio project come to life!

Video Block
Double-click here to add a video by URL or embed code. Learn more

The LAUNDRY ROOM

The laundry room, the mud room, the utility room... whatever your preference. It is a room for every purpose. Laundry rooms were typically tucked away in the basement in the past, but in modern homes, it is common for a laundry room to be found on the main floor near the kitchen or garage or even upstairs near the bedrooms. In this particular home, it's the first impression as friends and family enter through the garage. 

This family home is filled with colorful eclectic art and tons of fun memories from traveling to the beach. It's a cozy mix of warm shades of gray, highlighted by white trim, wide timber floors, stone, metal and rustic wood touches throughout the main floor. 

The project goal was to update a busy room into an organized space. One that could serve many purposes and still look pulled together. The family wanted a clean look that would include floor to ceiling storage for shoes, laundry supplies and seasonal items. They no longer needed the use of a sink, but required more countertop space for folding & hanging clothes and the daily hubbub of life.

Before the Remodel

This was not a huge space wall-to-wall, but there's always an opportunity to utilize height in a room with 9 foot ceilings. Which is a big bonus!

My son, Harry, joined me on this project. Totally fun working with him, Thanks Harry! We started by clearing the space of its existing cabinets, wall paper, wire-shelving, washer/dryer set and bi-fold closet doors. The homeowners removed the extra door that closed off the kitchen hallway for a clearer flow into the house, which made a huge difference. There was no need to replace the lighting or flooring at this time, so those stayed in tack with a little clean up. 

Clearing the Space

TIP: If a space feels small, removing unnecessary or awkward doors is an easy way to open up a room, giving the illusion of a larger brighter space.

We exchanged the bi-fold closet doors with sliding-mirrored doors to reflect more light and save space when opening and closing the closet and moving between the laundry room and the garage. The family chose a smart space-saving stackable washer/dryer set that we surrounded in cabinetry. Much the same way as you would a refrigerator in the kitchen. Harry and I custom built the upper and lower cabinets and a floor to ceiling shoe closet that would make any shoe collector sing. 

We stained and sealed butcherblock countertop and cut an 8" hole in the surface to drop in damp clothes from the gym or pool ready for washing. There is a pull out side-by-side garbage can and wet bin under the counter. The base cabinet is made up entirely of pull out drawers with wire racks for easy cleaning and tons of storage space.

Everything, floor to ceiling (trim included) got a fresh coat of paint. Two shades of warm gray (the walls are light gray and the cabinets are a shade darker) with white trim to match the rest of the homes interior. 

After the Remodel

We made a simple hanging clothes rack out of gas pipe and used an old barn board that our homeowner had saved for mini shelves, coat hooks (with colorful little cabinet knobs) and a spot for keys. The gas pipe & barn board adds a fun, rustic, industrial look that picks up on the casual vibe in the rest of their home.

As always, thank you to the Basilblue crew for all your help and muscle and to the skilled trades of Carver Electric and our Master Plumber Rick. And thank you Tina Campbell of Fence Post Photography for helping me get some great pics for this Blog post. You guys rock! One final THANK YOU to the Logan Family. You are such a fun family. We really enjoyed your project and hope you love your new laundry-utility-mud room for many years to come!

Final Touches

BUNK BED MAKEOVER

Be sure to scroll through all the before and after photos below, its quite a transformation!

From room to room and activity to activity these bunk beds were designed with one thing in mind... togetherness. This project is the result of six siblings (ages ranging from 2 to 13) that needed a space to gather together (friends included) for plenty of space to play, climb, imagine, grow and lets not forget... sleep.

The design concept changes this space from dark and closed off to modern and bright with a focus on clean white lines. The rest of the house has the unique feel of a bright modern barn sprinkled with salvaged doors, antique porcelain sinks, concrete, wood and steel and lots of fun color.

Before

We started with changing the flooring from a commercial grade steel gray carpet to a modern rustic charcoal gray floating bamboo floor. Then connected two upstairs bedrooms by opening up the wall between them flooding a once dark space with light, making it easier to ramble between rooms without having to venture out of one room, around the corner, down a long hallway, around another corner and back into the other room. From a kids point of view...
it's a long trek.

After opening the space up the rooms needed a very large 5' door to give boys and girls a little privacy as they grow. I managed to find two matching doors with the original architectural glass still in tact. This was the perfect solution to be just big enough to cover the opening, translucent enough to keep light flooding in when the door is closed and funky enough to
keep the space fun while matching the salvaged style throughout the rest of the house.

To make the doors into one great big door, I cut them to fit together as one joining them with a biscuit joiner, wood glue and clamps. Then cleaned them up with a bit of sanding, a little elbow grease & TLC and hung them on an industrial sliding barn door track. The track works great for an oversized door and doesn't take away from the additional play space in a room
the way a hinged door would by swinging out into the room.

Three of the five base bunk beds are queen size, designed with three drawers underneath for storage of clothing and toys. A sturdy bookshelf stair-step ladder makes it easier for kids and grown-ups alike to climb to the top and provides a great place to keep their books, toys and electronics up off the floor.

midway progress

Eight additional twin sized beds are split between each room in a fun interactive layout to accommodate plenty of climbing and fun playtime. Safety rails were included for smaller kids  and designed with a clean modern open layout in mind. A ladder made of gas pipe climbs to the top of one bunk with an additional bookshelf stair-step ladder on the other end to mimic the bunk layout in the other room.

The green room, needed a touch of whimsy and a "tree" ladder makes it a fun climb to the top bunk, just like sleeping in an indoor tree house.

The homeowner finished the space with a fun tee-pee, colorful rugs and bedding to compliment the green and orange paint colors they choose for each room.

This was a really big project and the family was so patient and gracious to tolerate our busy schedules while we worked through it. The kids were thrilled when they could finally climb
into their new bunk beds and they have love sharing it with their family and friends.

Thank you to my Basilblue crew for all your help and muscle and to the Morrissey
Trim Carpentry team for your excellent craftsmanship and skilled trades work.

After